Openers · Hamilton Heights
Smart Garage Controller Setup in Hamilton Heights
You are twenty minutes down the highway when the thought lands: did the garage door close behind you?
In plain words
Everything about this service starts with the label on your opener. Brand, model number and year of manufacture decide whether a hub can be wired to the same terminals your wall button uses, whether it must instead pair by radio the way a new remote does, or whether the opener already has connectivity waiting to be activated. On many openers the colour of the learn button is the shortcut to that answer, because it marks the generation of radio coding the unit speaks. The technician reads all of this before choosing hardware, so the controller that goes up is one the maker lists as supported for that exact opener.
How the visit goesYou are twenty minutes down the highway when the thought lands: did the garage door close behind you? You cannot picture it. Turning back means being late, and not turning back means wondering about it all day.
Smart Garage Controller Setup
How the visit goes
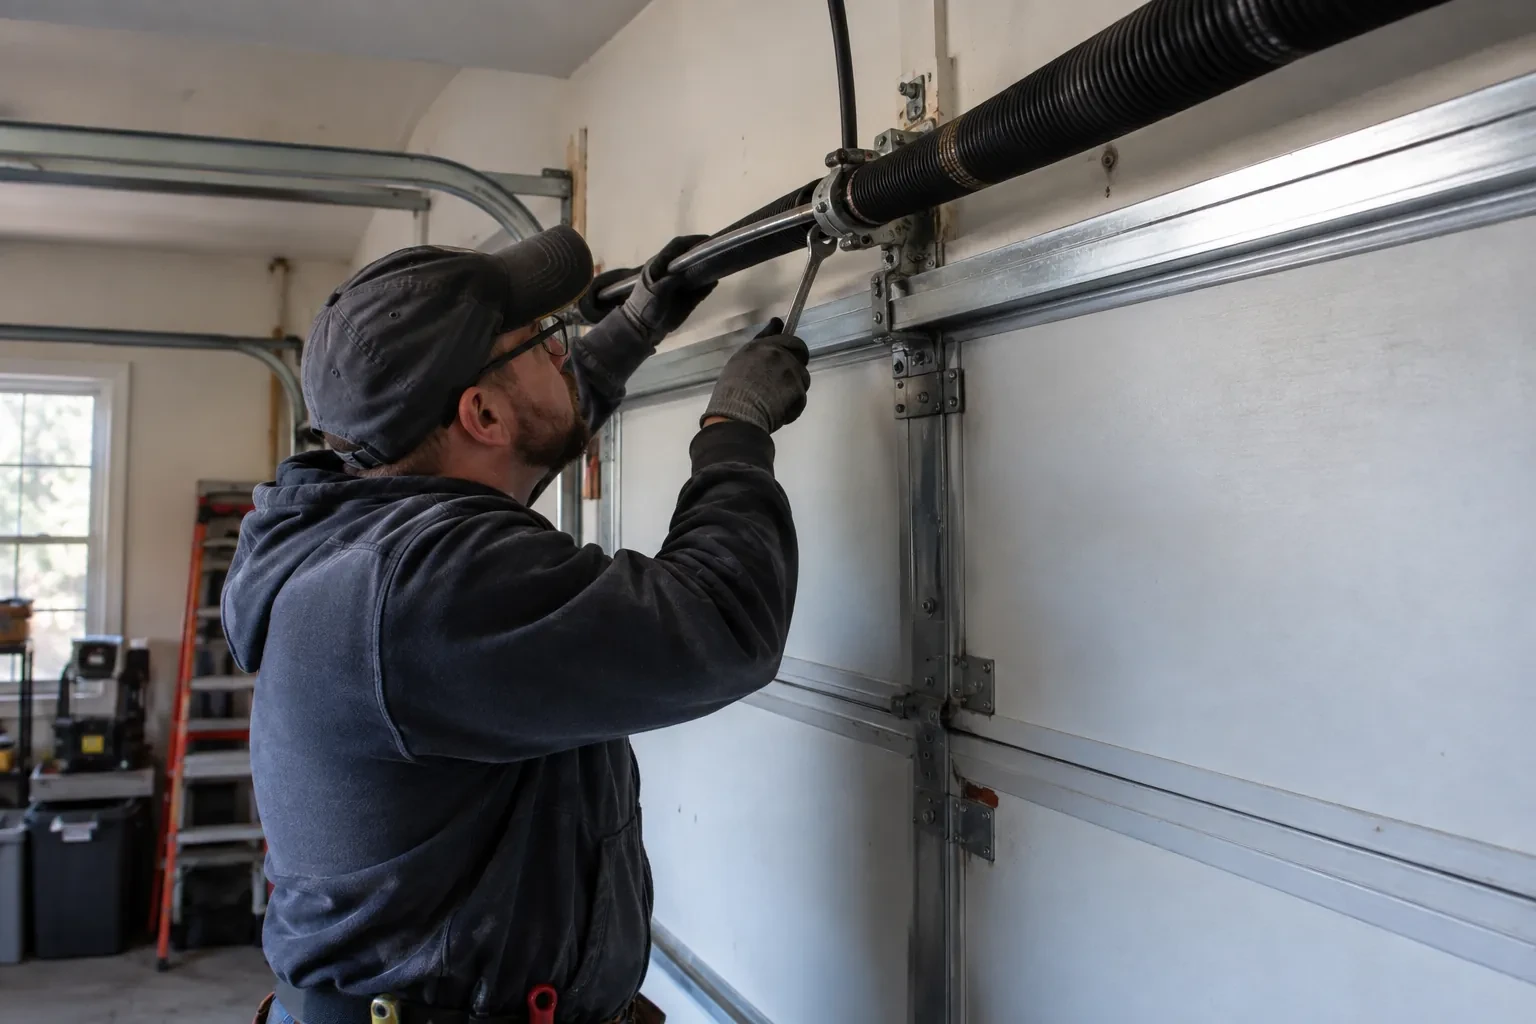
Reading the label on the opener
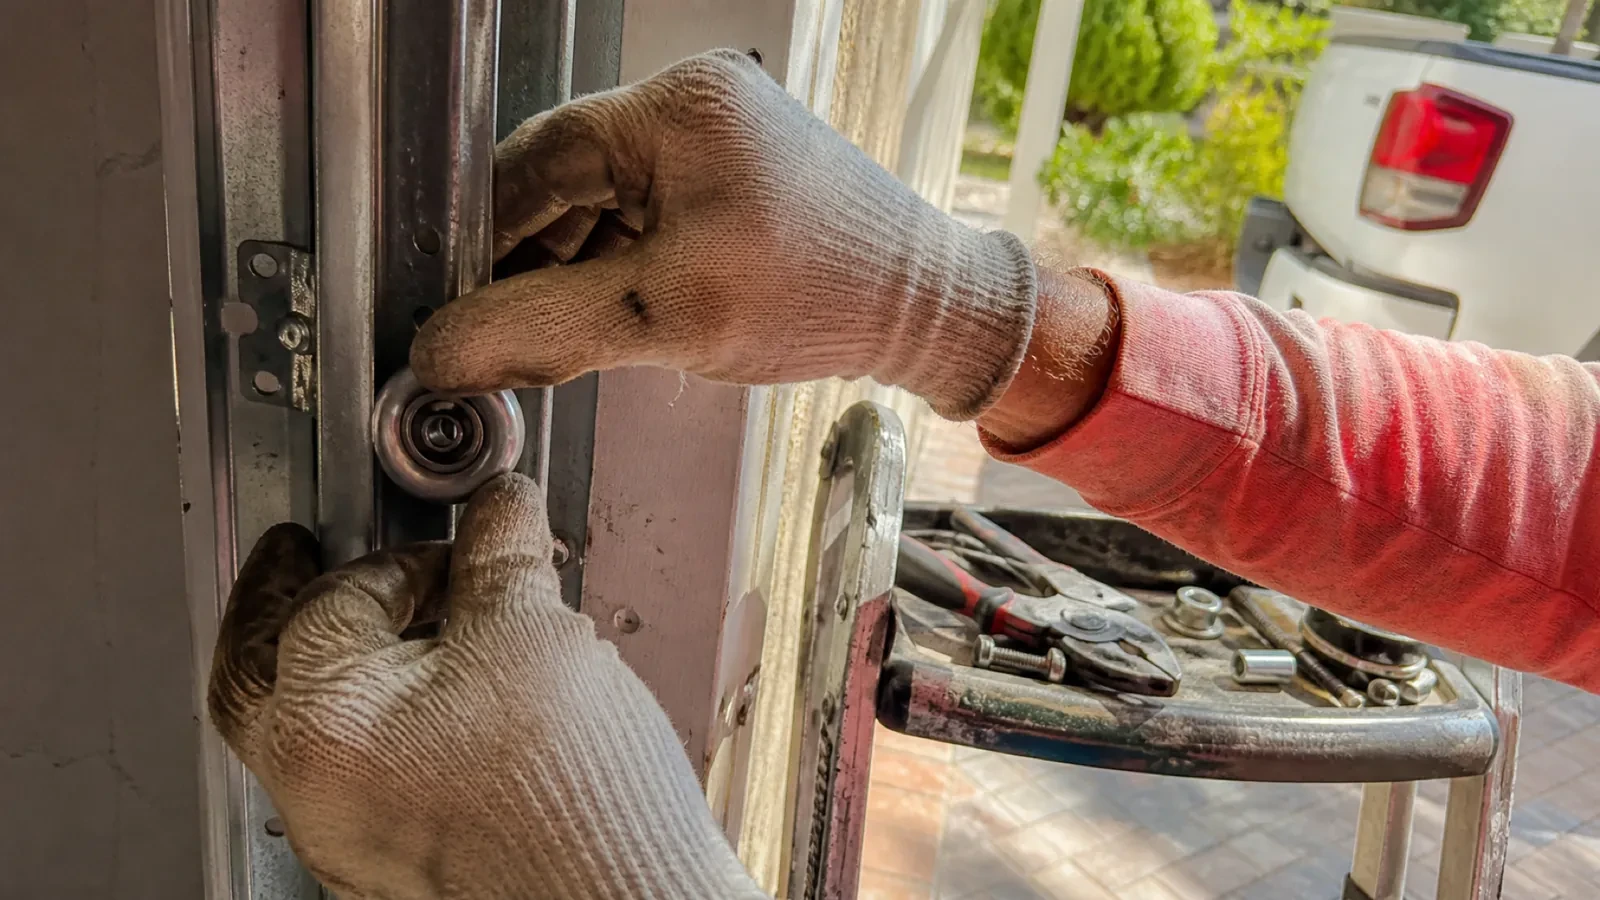
The first thing checked is the small label on the head unit, because everything else depends on it. Brand, model number and date of manufacture tell the technician which family the opener belongs to and which controllers list it as supported. The learn button, usually under the light cover, is checked for colour, since on many makes it marks the radio-coding generation and decides whether a hub can be wired to the wall-control terminals or must pair by radio. The wall console is looked at too: a console with a digital display often means an encrypted connection that needs a different hookup. A photo of the label sent ahead lets this step happen before the van leaves.
Mounting and teaching the door sensor
The sensor is fixed to the inside of the top door section with two screws, oriented the way its maker specifies so the tilt reading is unambiguous. Its battery goes in, and the hub is put into pairing mode to find it. The technician then follows the controller's own pairing procedure: some units come already programmed to their sensor and are simply verified through full cycles, others are taught the closed and open positions by cycling the door. Further cycles follow while the app is watched for the status to change within seconds of each end. A sensor that reports late or wrongly is repositioned rather than left to be second-guessed later.
When the internet is down
A dropped connection changes less than you might fear. Your wall console, remotes and keypad talk directly to the opener and keep working through any outage. What pauses is the phone side: status updates, alerts and commands from outside the house wait until the hub reconnects, which it does on its own once the router is back. If you change routers or rename your network, the hub needs to be walked through the join process again, using the same steps you watched during setup. The door itself, and the safety features on it, never depend on the cloud.
Smart Garage Controller Setup
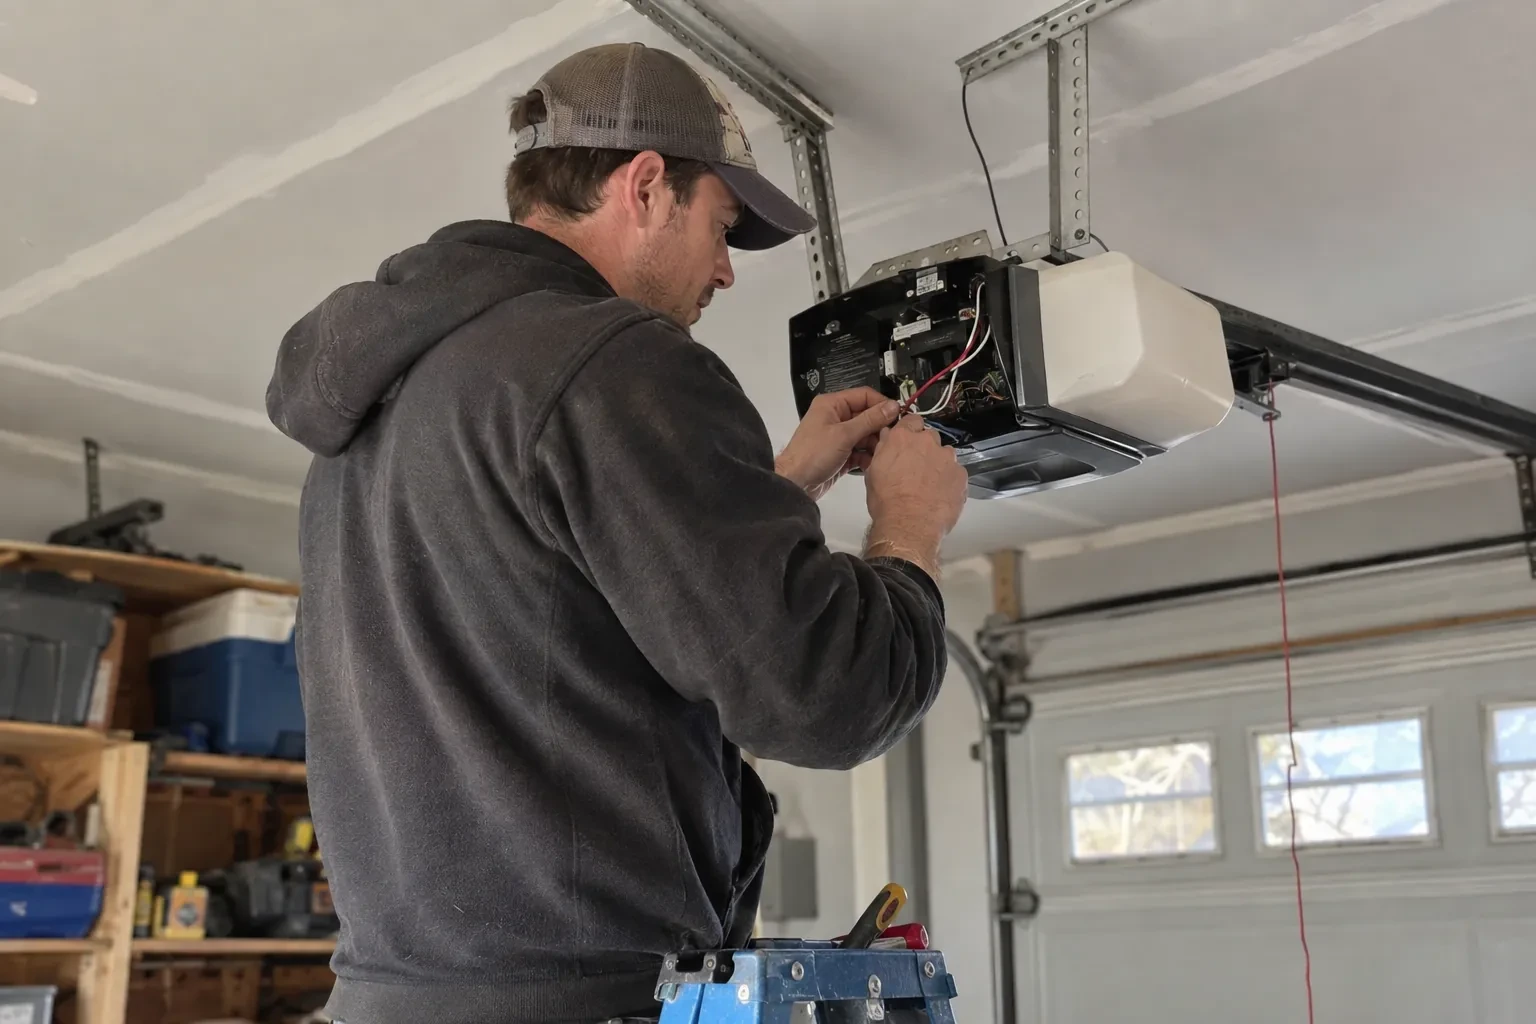
In the van
Low-voltage bell wire
Receptacle splitter with approval mark
Door-position tilt sensor
Mounting screws and brackets
Replacement photo-eye pair
Smart Garage Controller Setup
What affects the quote
Built-in radio or retrofit hub
An opener whose wireless radio is already inside needs configuration and testing. An older opener needs a hub, a sensor, wiring or radio pairing and the same testing, which is a longer visit with hardware.
Wireless coverage at the garage
A strong signal at the ceiling is a straightforward join. A weak one, common in detached garages, calls for an access point or extender, which is quoted separately.
Taking over an existing device
Releasing a controller from a previous owner's account, resetting it and pairing it fresh takes time that a new device does not, and its sensor may need a battery or repositioning.
What to have ready
- Which email address should the account be created under?
- Are both photo-eye sensors near the floor lit steadily?
- How many garage doors do you want connected?
Smart Garage Controller Setup: questions
QuestionsWhat batteries does the sensor take, and how long do they last in a cold garage?
Most sensors take a coin cell or a pair of small cylindrical cells, specified by the maker. In a heated garage a battery commonly lasts a year or two; in an unheated one, expect less, and choose a lithium cell over alkaline because it holds its voltage in the cold. The app warns you as the battery runs down, and replacing it takes a moment and a fresh cell.
How long does the setup take?
A built-in radio that only needs pairing and an account is the shorter visit. A retrofit hub with wiring, a sensor and network work takes longer, and adding an access point for a detached garage or correcting photo eyes first adds to it. The testing at the end, every control plus the safety tests, is never rushed. You are told where things stand once the compatibility check is done.
My opener already has a wireless symbol on it. Do I still need a hub?
Probably not. An opener with a built-in radio needs only to be put into pairing mode, joined to your network and registered to your account; it reports door position from its own travel sensing, so no separate sensor is required either. The visit becomes configuration and testing rather than installation. The technician also checks that the unit has not been left tied to a previous owner and that its firmware is current.