Openers · Wilmot
Photo-Eye Sensor Alignment or Replacement
Since shelving went up along the garage wall, the door will not close and both sensor lights are dead.
In plain words
Some sensor problems keep a schedule. A receiving eye that faces the low sun on winter mornings is flooded with light and loses the beam until the sun moves on, and a lens that frosts overnight in an unheated garage clears itself by noon. The service sorts these out for good: the sensors are swapped side to side so the receiver faces away from the light, or a small shade is fitted, and lenses and brackets are cleaned and reset above the line where slush collects. The door then closes at any hour of the day and in any month.
How the visit goesSince shelving went up along the garage wall, the door will not close and both sensor lights are dead. A screw or staple may have gone through the thin wire that runs from the opener to the sensors.
Photo-Eye Sensor Alignment or Replacement
How the visit goes
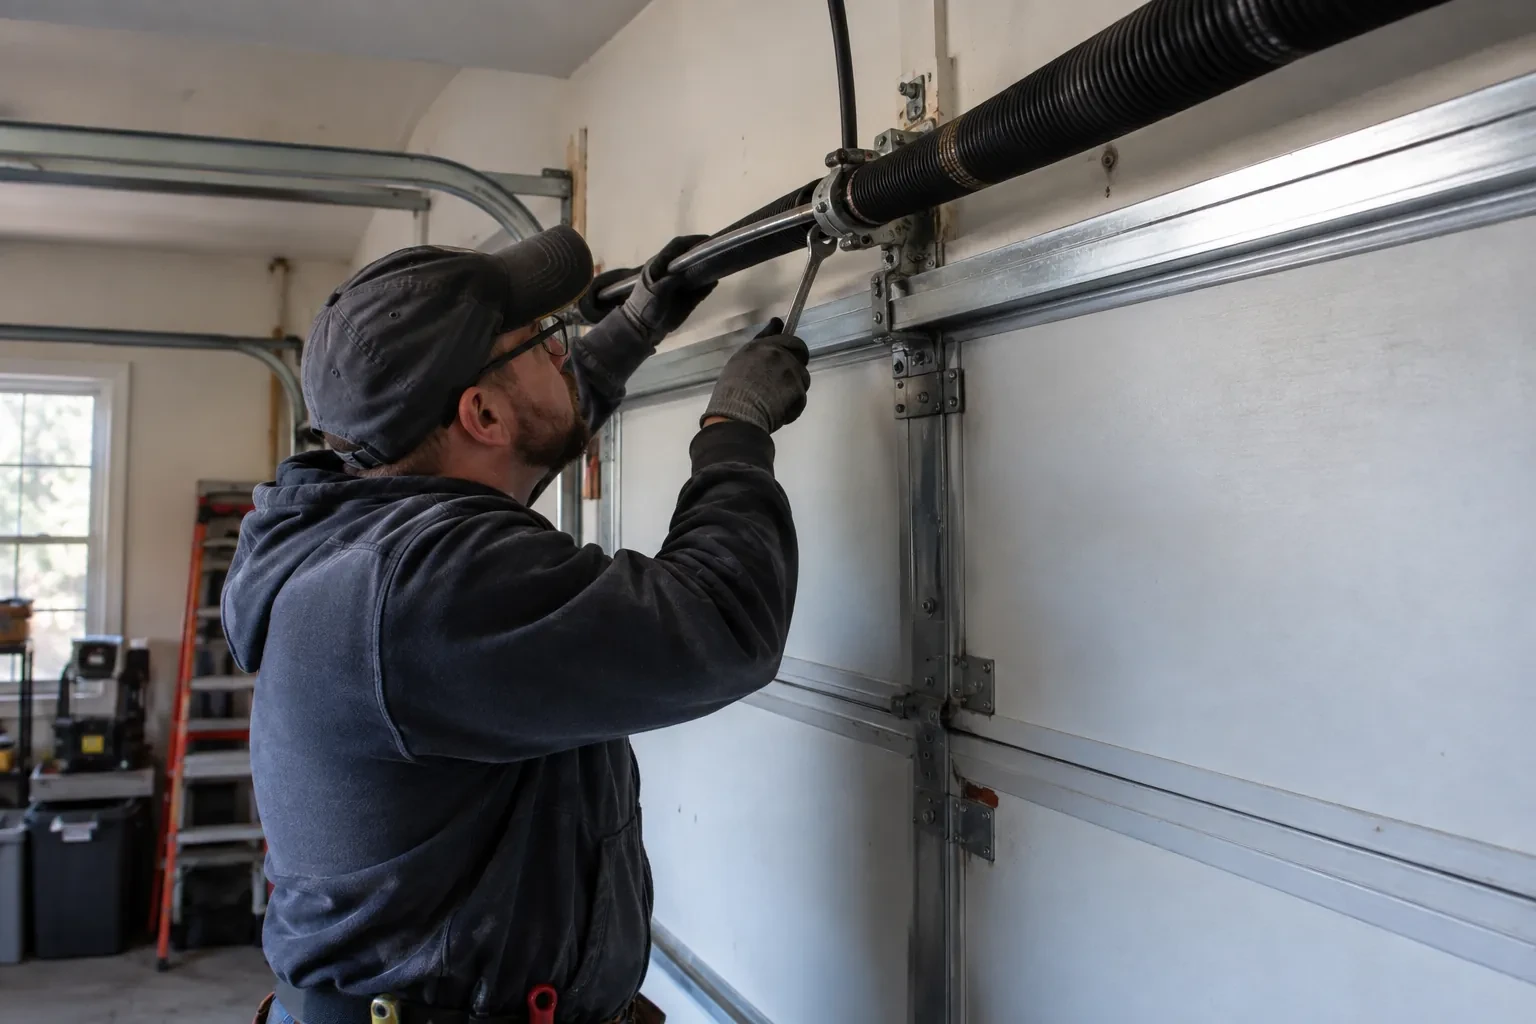
Brackets and height on both sides
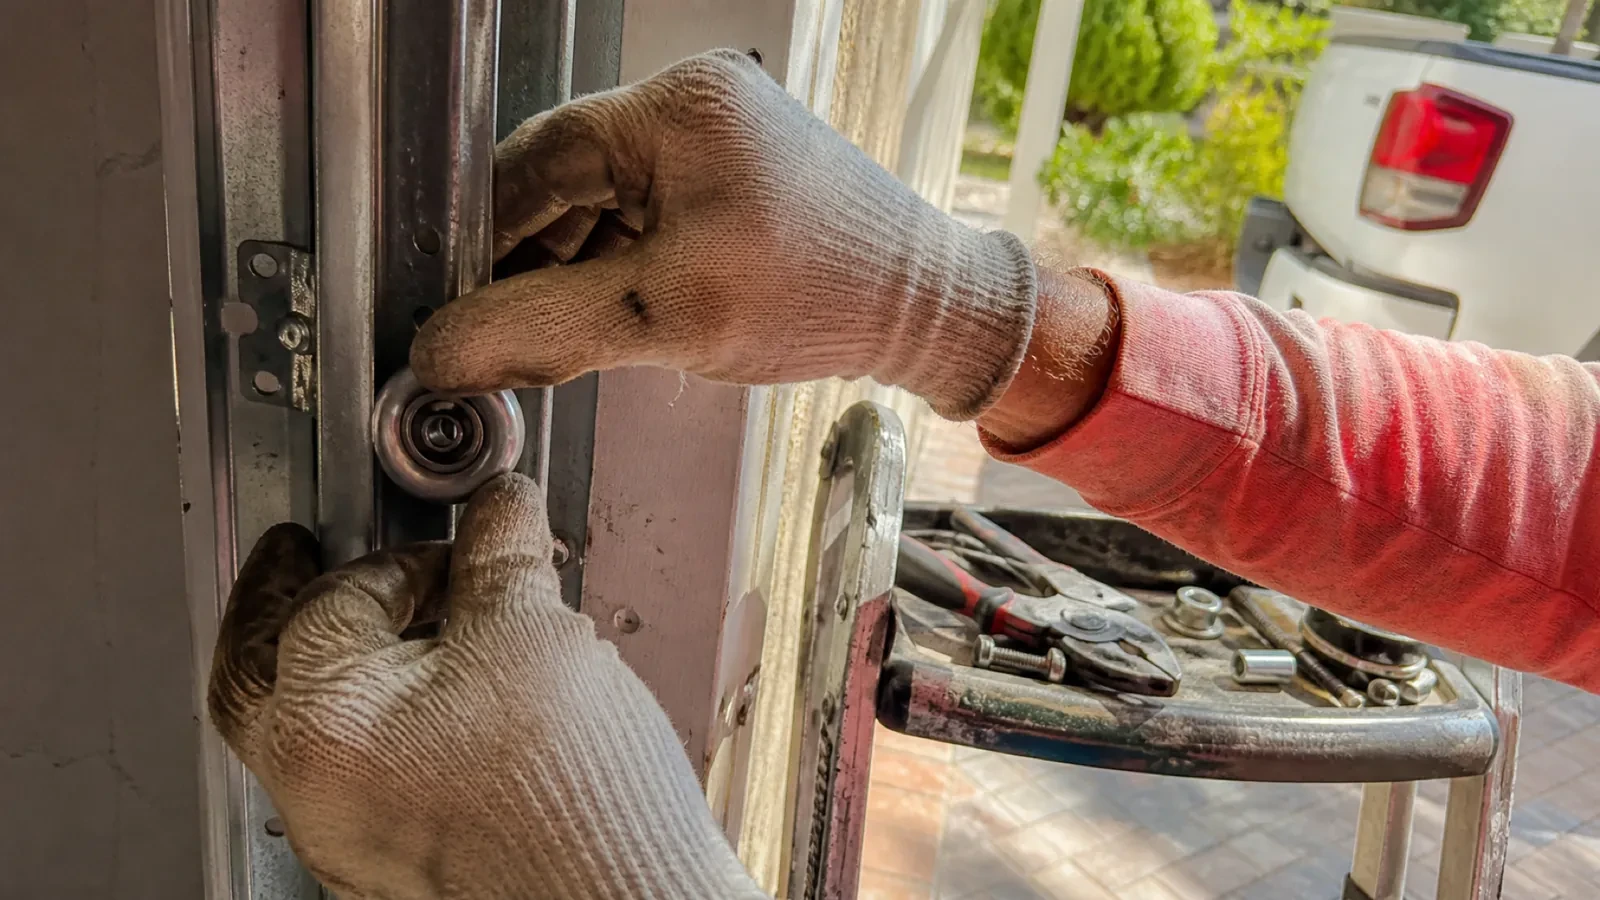
The two sensors have to sit at the same height, level, and facing each other squarely, no higher than about 15 cm (6 in) above the floor so the beam catches a small child or a pet. The technician measures both sides, because a bracket that has slipped a couple of centimetres down a track leg is enough to lose the beam. Each bracket is checked for bends from a bumper or a bin, for loose carriage bolts or wing nuts, and for rust where salt slush has sat against it for winters on end. A bracket screwed to a wall or the floor is checked for anchors that have worked loose.
Straightening or replacing the brackets
A bent bracket is straightened where the metal allows and replaced where it has cracked or rusted through. New brackets are chosen to suit the mounting: a track-mounted clip that rides the vertical rail, or a right-angle bracket anchored to the wall or the concrete where the track sits too far back. Fasteners that vibrated loose are replaced with the right carriage bolts and wing nuts rather than reused. Where a bracket has been sitting in salt slush every winter, it is set a touch higher within the permitted range and the mounting is sealed against the wall so water stops running behind it.
Two lights to glance at
You leave knowing what normal looks like at the floor. Most sensor pairs carry a small indicator on each side, often in different colours for sender and receiver, though some older pairs light only the receiver; the model's own chart tells you what steady and flickering mean. A dark or flickering light on the receiving side means the beam has been lost, usually because a bracket was bumped or something is in the path, and two dark lights mean the pair has lost power along the wire. A glance at those lights before calling anyone tells you most of what the technician would look at first, and often the fix is moving whatever is leaning on the bracket.
Photo-Eye Sensor Alignment or Replacement
In the van
Two-conductor low-voltage wire
Receiving-eye sun shade
Multimeter
2x4 test block
Wire connectors
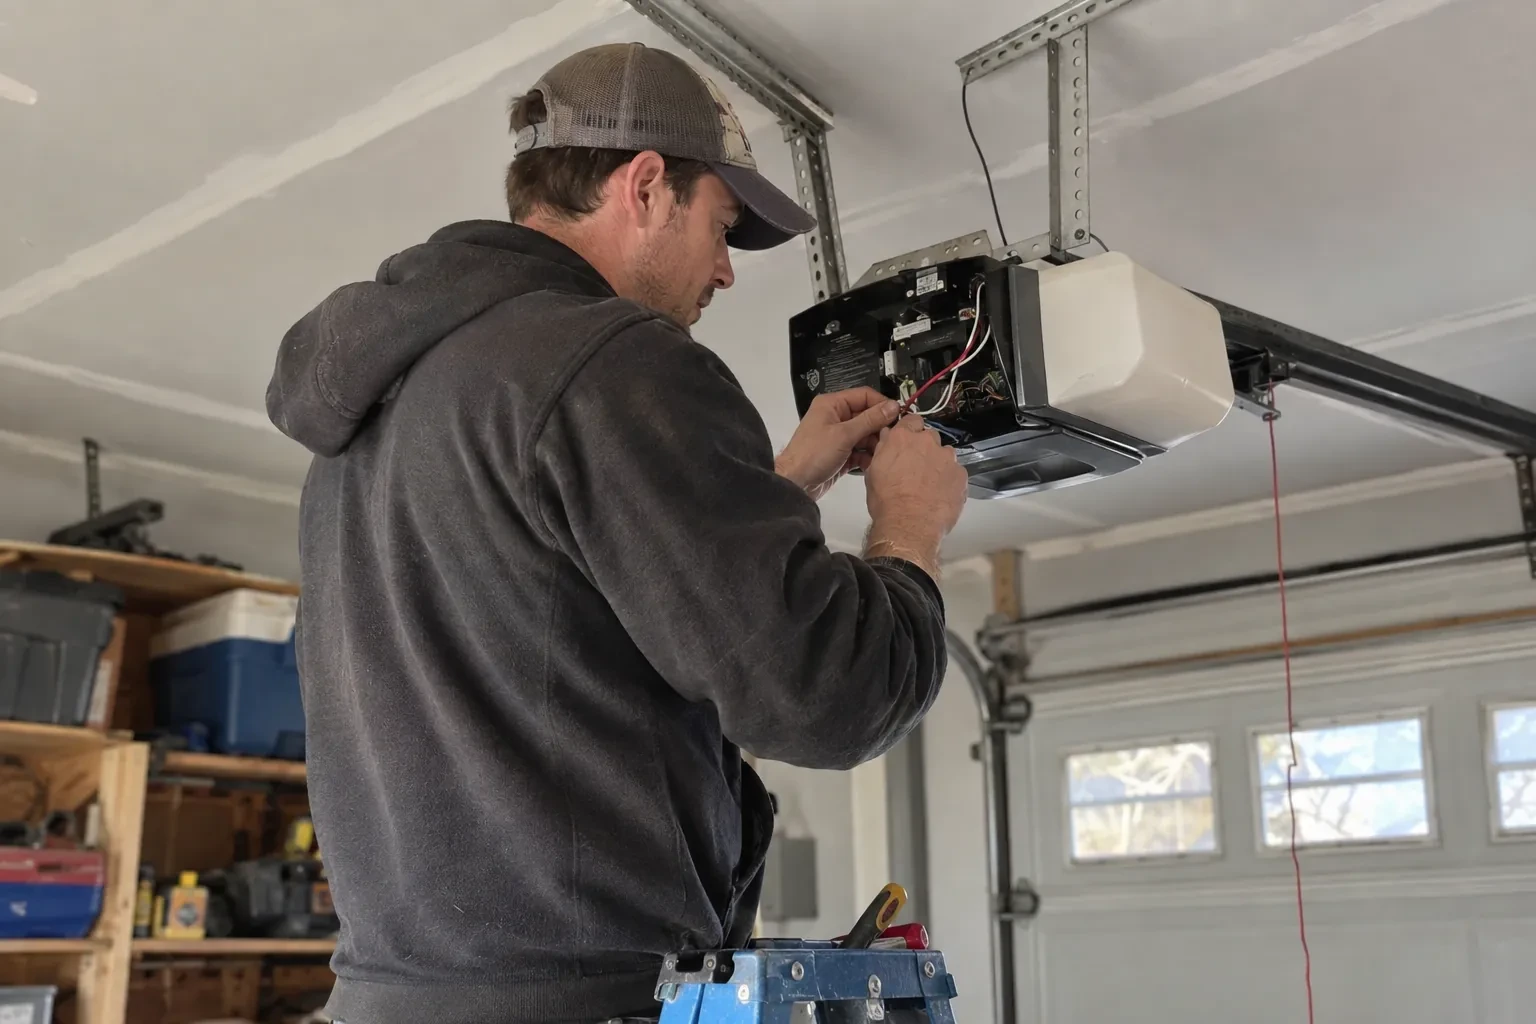
Photo-Eye Sensor Alignment or Replacement
What affects the quote
Force and travel adjustment alongside
If the reversing turns out to involve a travel limit set long or a force setting made in summer, adjusting and re-testing those settings is included as a small extra step.
Bracket condition
A bracket that can be straightened costs little time. One that is cracked, rusted through or missing is replaced, and a change from track clips to wall or floor brackets adds anchors and mounting work.
Sun and reflection remedies
Swapping the sensors side to side is a small addition when the wiring reaches. Fitting a shade, or extending the wire so the receiver can move, is a little more and is listed on its own.
What to have ready
- Can you send photographs of both sensors, the head unit label and the wall control?
- Which direction does the garage door face?
- What make and model is on the opener's label, and roughly how old is it?
Photo-Eye Sensor Alignment or Replacement: questions
QuestionsHow should I clean the lenses?
Gently, with a soft dry or lightly damp cloth, the way you would clean eyeglasses. Never scrape a lens or use a solvent, since a scratched or clouded lens scatters the beam. Wipe both sensors, then check that the receiving light comes on steadily. If a lens frosts on cold mornings, give it a few minutes to clear or dry it with a cloth. A quarterly wipe keeps dust, cobwebs and salt film from building up.
Can cold weather affect the sensors?
It can, in a few ways. Frost or condensation on a lens in an unheated garage dims the beam until it clears. The low winter sun reaches further across the floor and into a receiving eye. Old wire insulation cracks in the cold and shorts. Salt slush builds against brackets and corrodes them and the terminals over the years. Each of those has a straightforward remedy: cleaning, a shade or side swap, a fresh wire run, or brackets set above the slush line.
Will the sensors need replacing or just aligning?
Most visits end in alignment, cleaning and bracket work, because the sensors themselves are hardy. Replacement comes into it when a lens has clouded or crazed, when the housing is split or holds water, an indicator stays dark with the wiring proven good, or the pair is from a different generation than the opener and is never recognised. The technician tests before choosing, so the parts list matches what the door needs.