Openers · New Hamburg
Photo-Eye Sensor Alignment or Replacement in New Hamburg
Since shelving went up along the garage wall, the door will not close and both sensor lights are dead.
In plain words
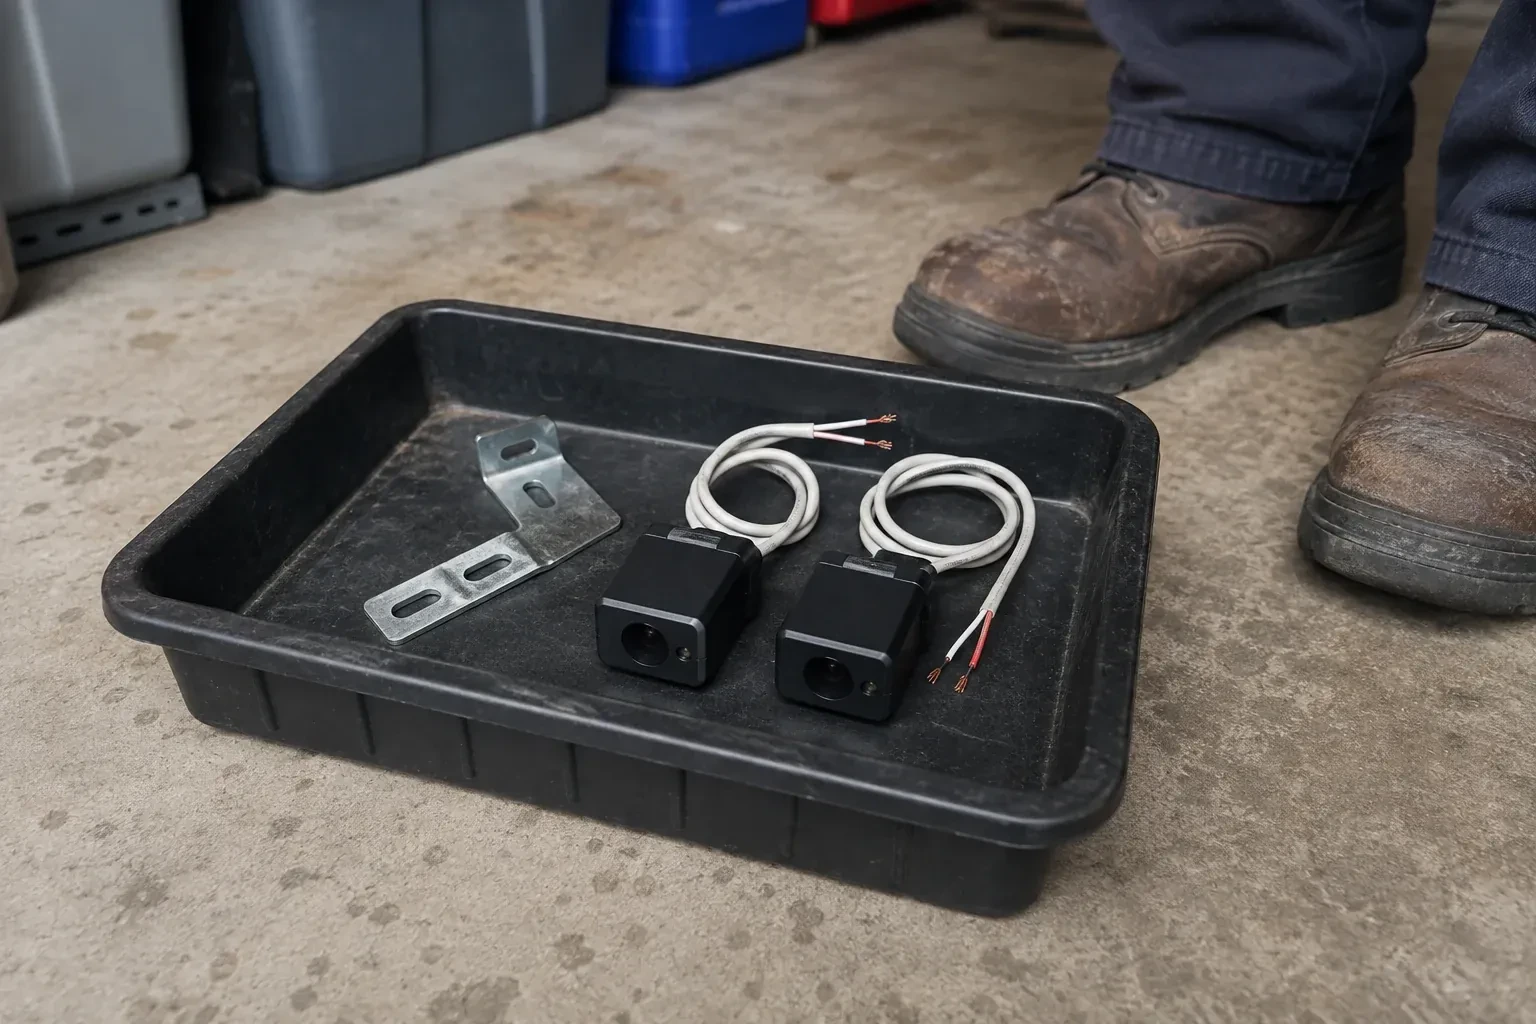
Two small sensors face each other across the doorway: one sends an infrared beam, the other receives it. While the beam lands on the receiver, the opener will close the door; the moment anything interrupts it, the door stops and returns to open. Every sensor call comes down to why the receiver has lost the beam: an object, a bent bracket, a dirty or frosted lens, sun in the receiving eye, a broken wire or a tired sensor. The technician works through those in order, fixes the one that applies, and shows you the steady indicator lights that mean the pair is talking again.
How the visit goesOn bright mornings the door will not close, then by lunchtime it behaves itself. The garage faces the low sun, and the light reaches straight across the floor to one of the little black sensors.
Photo-Eye Sensor Alignment or Replacement
How the visit goes
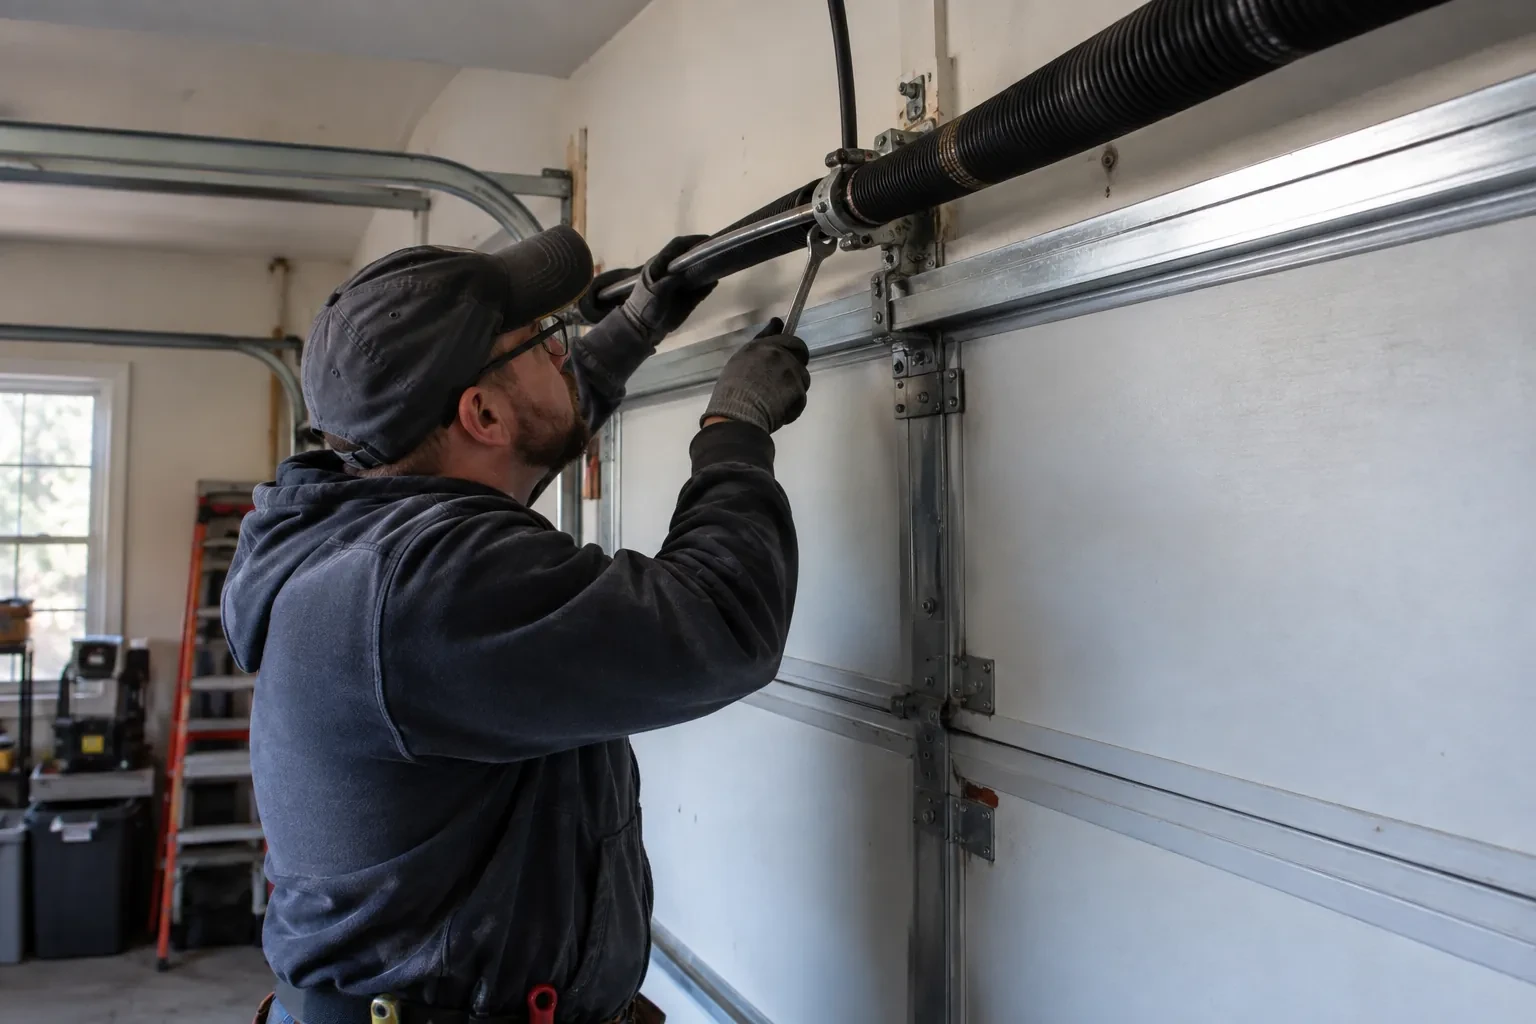
Brackets and height on both sides
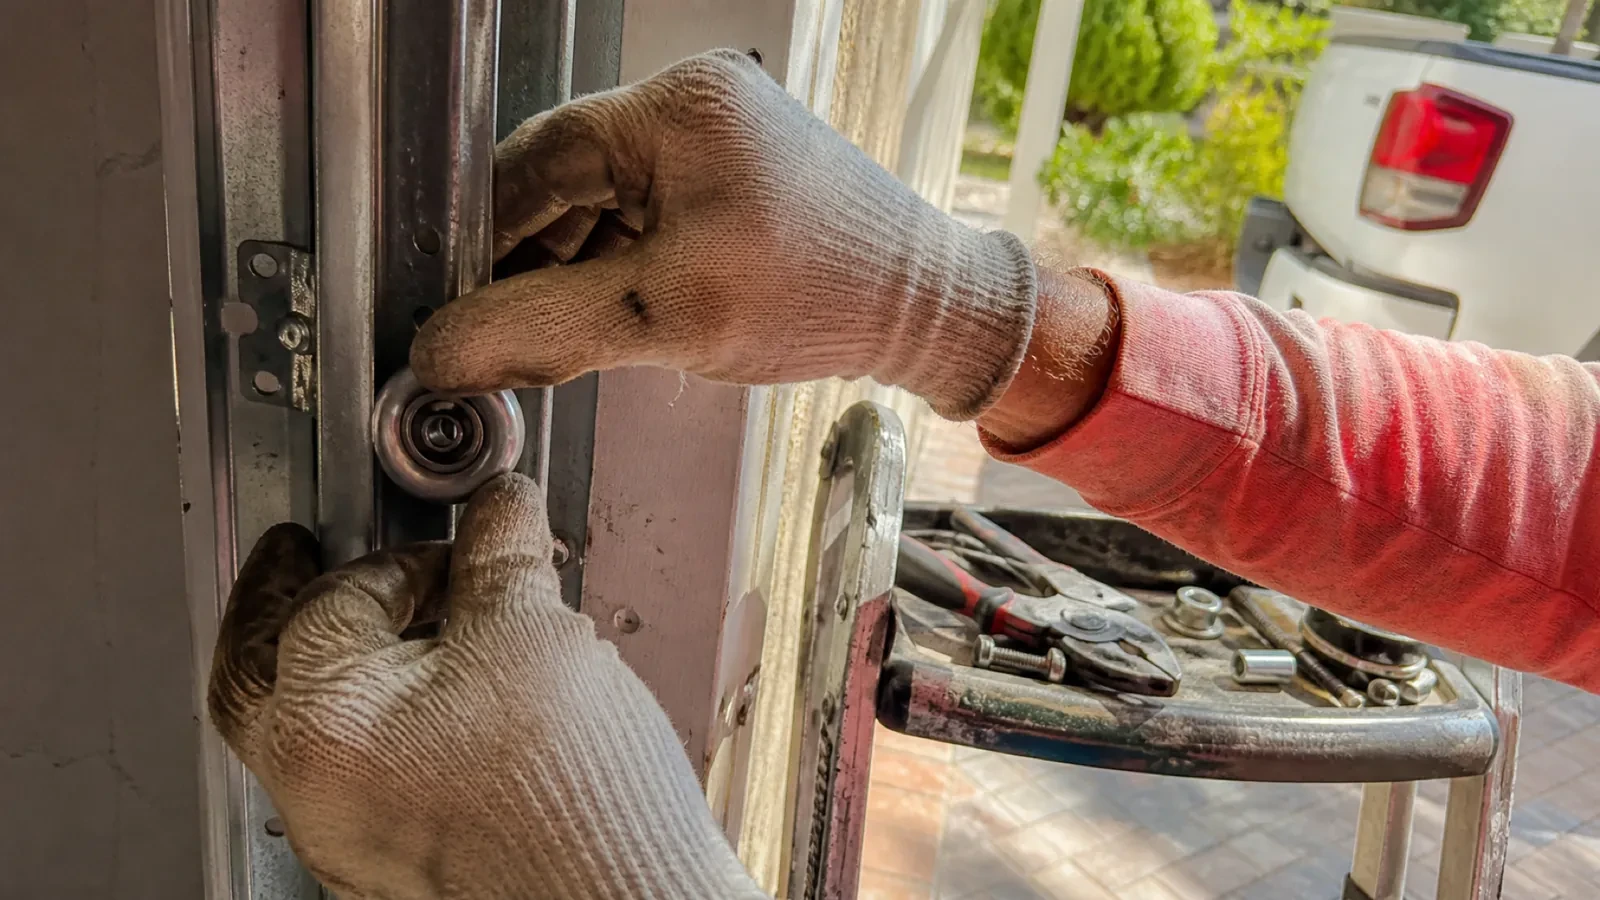
The two sensors have to sit at the same height, level, and facing each other squarely, no higher than about 15 cm (6 in) above the floor so the beam catches a small child or a pet. The technician measures both sides, because a bracket that has slipped a couple of centimetres down a track leg is enough to lose the beam. Each bracket is checked for bends from a bumper or a bin, for loose carriage bolts or wing nuts, and for rust where salt slush has sat against it for winters on end. A bracket screwed to a wall or the floor is checked for anchors that have worked loose.
Bringing the pair back to the doorway
Sometimes the sensors exist but have been defeated: taped face to face next to the head unit so the circuit is always satisfied and the door closes on anything. The technician separates the pair, checks that both still work, and mounts them where they belong on each side of the opening, low to the floor and facing each other. New wire is run down each side, brackets are fitted, and the alignment is set. The opener is then made to prove itself with the beam test, and the household is shown why the pair matters and how to keep it working, so the shortcut is never tempting again.
Keeping the brackets out of harm's way
Most repeat sensor calls come from the same few habits, and they are easy to change. Keep recycling bins, bicycles, boots and the snow shovel away from the bottom of the door track on both sides. Park with a little room to spare so a bumper never meets a bracket. When you sweep or blow snow out of the garage, aim away from the sensors rather than at them. If shelving or a workbench goes in along that wall, leave the strip near the floor free. The brackets are sturdy, but they hold a precise line, and a nudge that would not bother anything else is enough to lose the beam.
Photo-Eye Sensor Alignment or Replacement
In the van
Two-conductor low-voltage wire
Receiving-eye sun shade
Multimeter
2x4 test block
Wire connectors
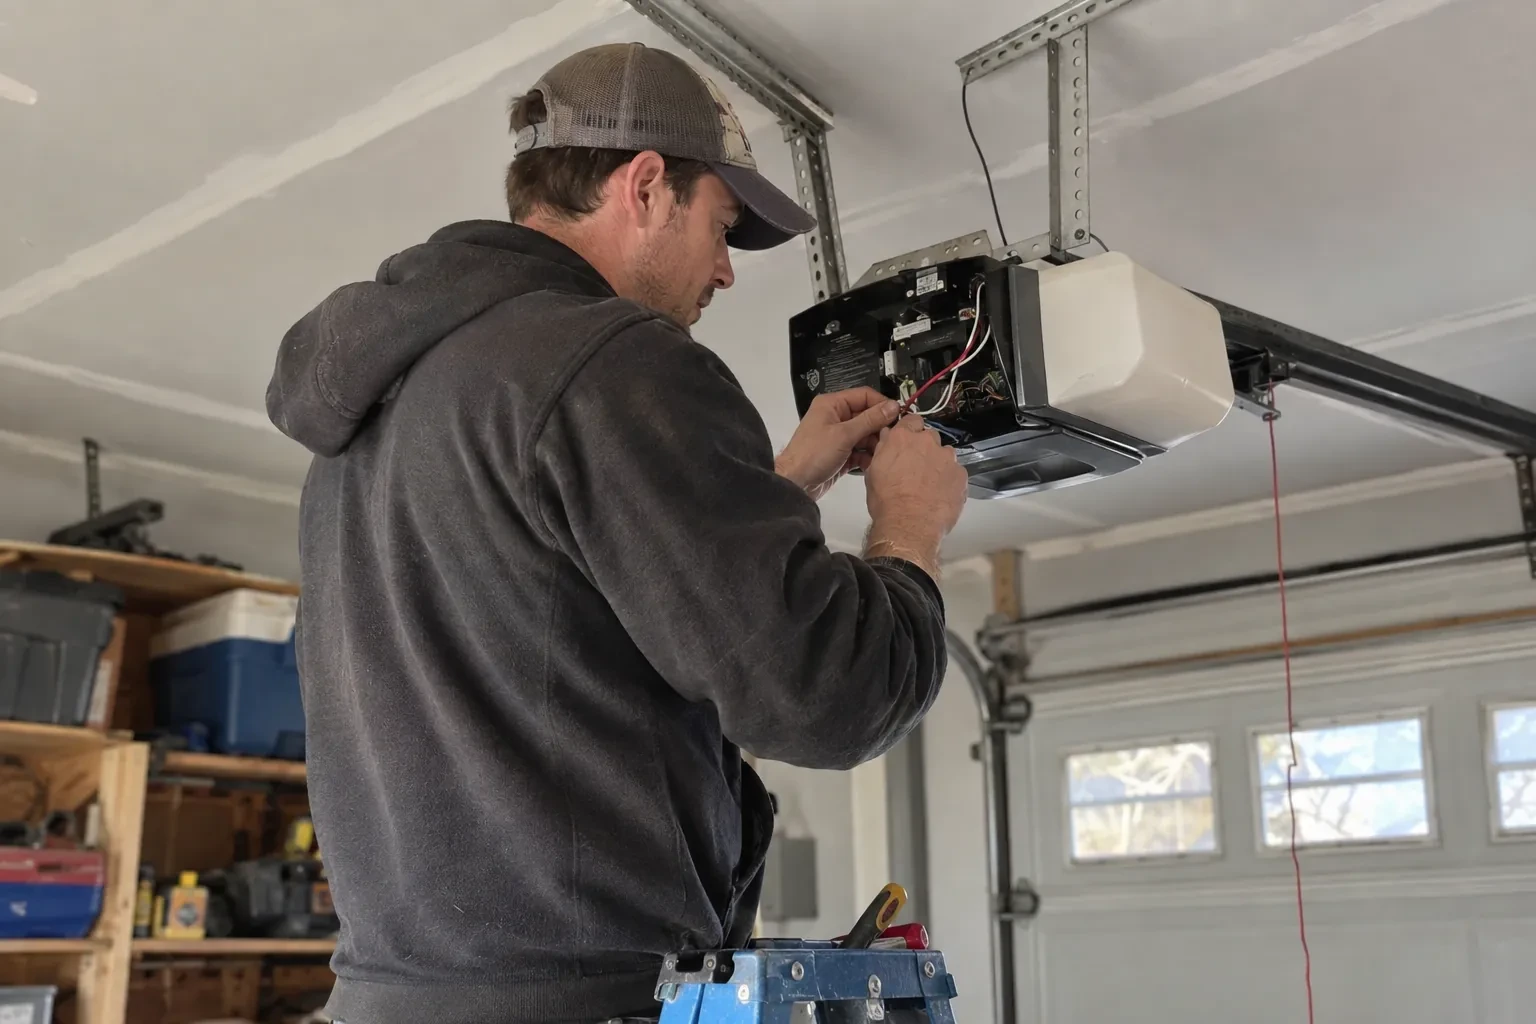
Photo-Eye Sensor Alignment or Replacement
What affects the quote
Sun and reflection remedies
Swapping the sensors side to side is a small addition when the wiring reaches. Fitting a shade, or extending the wire so the receiver can move, is a little more and is listed on its own.
Number of doors
Each opener has its own sensor pair and wire run, so a double garage with two doors is two sets of checks, two possible pairs and two rounds of testing, quoted per door.
Bracket condition
A bracket that can be straightened costs little time. One that is cracked, rusted through or missing is replaced, and a change from track clips to wall or floor brackets adds anchors and mounting work.
What to have ready
- Which direction does the garage door face?
- What do the two small sensor lights show: both steady, one dark or flickering, or both dark?
- Can you send photographs of both sensors, the head unit label and the wall control?
Photo-Eye Sensor Alignment or Replacement: questions
QuestionsHow should I clean the lenses?
Gently, with a soft dry or lightly damp cloth, the way you would clean eyeglasses. Never scrape a lens or use a solvent, since a scratched or clouded lens scatters the beam. Wipe both sensors, then check that the receiving light comes on steadily. If a lens frosts on cold mornings, give it a few minutes to clear or dry it with a cloth. A quarterly wipe keeps dust, cobwebs and salt film from building up.
Can cold weather affect the sensors?
It can, in a few ways. Frost or condensation on a lens in an unheated garage dims the beam until it clears. The low winter sun reaches further across the floor and into a receiving eye. Old wire insulation cracks in the cold and shorts. Salt slush builds against brackets and corrodes them and the terminals over the years. Each of those has a straightforward remedy: cleaning, a shade or side swap, a fresh wire run, or brackets set above the slush line.
Will the sensors need replacing or just aligning?
Most visits end in alignment, cleaning and bracket work, because the sensors themselves are hardy. Replacement comes into it when a lens has clouded or crazed, when the housing is split or holds water, an indicator stays dark with the wiring proven good, or the pair is from a different generation than the opener and is never recognised. The technician tests before choosing, so the parts list matches what the door needs.