Openers · Waldau
Photo-Eye Sensor Alignment or Replacement in Waldau
Since shelving went up along the garage wall, the door will not close and both sensor lights are dead.
In plain words
Most sensor visits end in alignment rather than new parts. The brackets that hold the sensors ride on the door track or the wall, and they get bumped by bins, tires and shovels until the two lenses no longer look at each other. The technician resets both sensors to the same height, loosens the wing nuts, aims the pair until the receiving light holds steady, tightens everything and secures the wire. Replacement is the answer when a lens is crazed, a housing is cracked, water has got inside or the indicator stays dark with good wiring, and then a pair matched to the opener is fitted.
How the visit goesThe small light on one of the sensors near the floor has gone dark, or it flickers when someone walks past the track. The other one glows steadily. The door refuses to close from the car.
Photo-Eye Sensor Alignment or Replacement
How the visit goes
Starting with the story
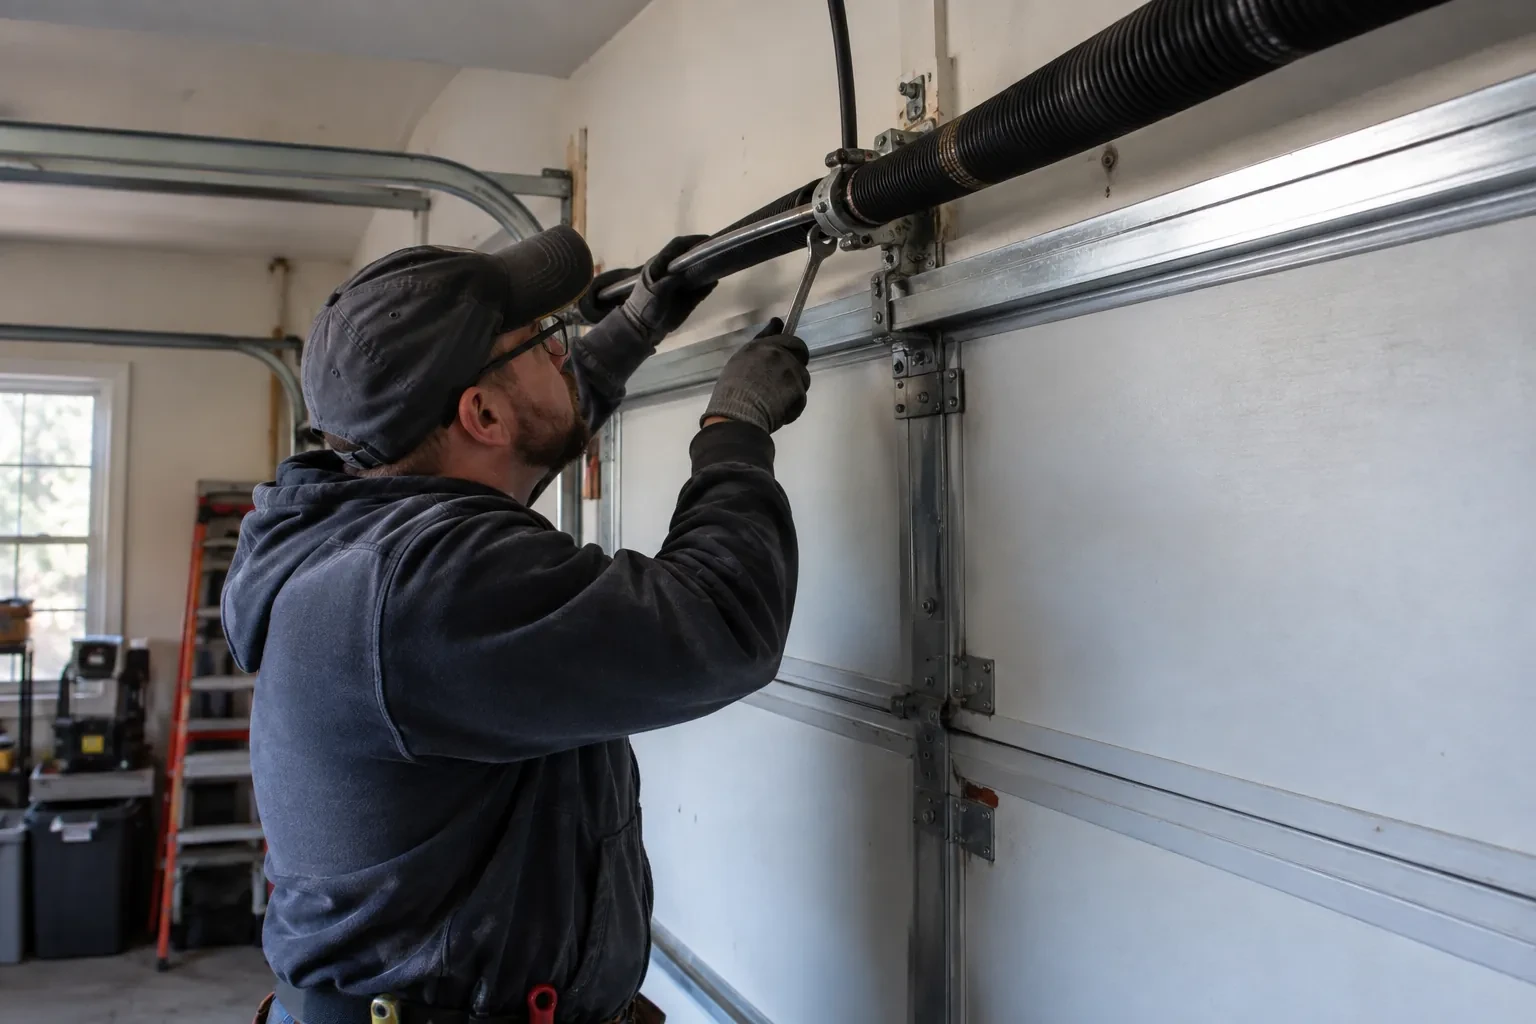
The first minutes are spent listening. What does the door do when close is pressed: drop and bounce, stay put, or close only while the wall button is held? Does the opener light blink, and how many times? When did it start, and what changed around then: a car bumped the track, a storm, shelving went up, the garage was reorganised, the first frost arrived? Does it happen at all hours or only on bright mornings? Those answers usually point at one of a handful of causes before a single tool comes out, and they decide whether the technician heads for the brackets, the wire or the head unit first.
Fitting a matched sensor pair
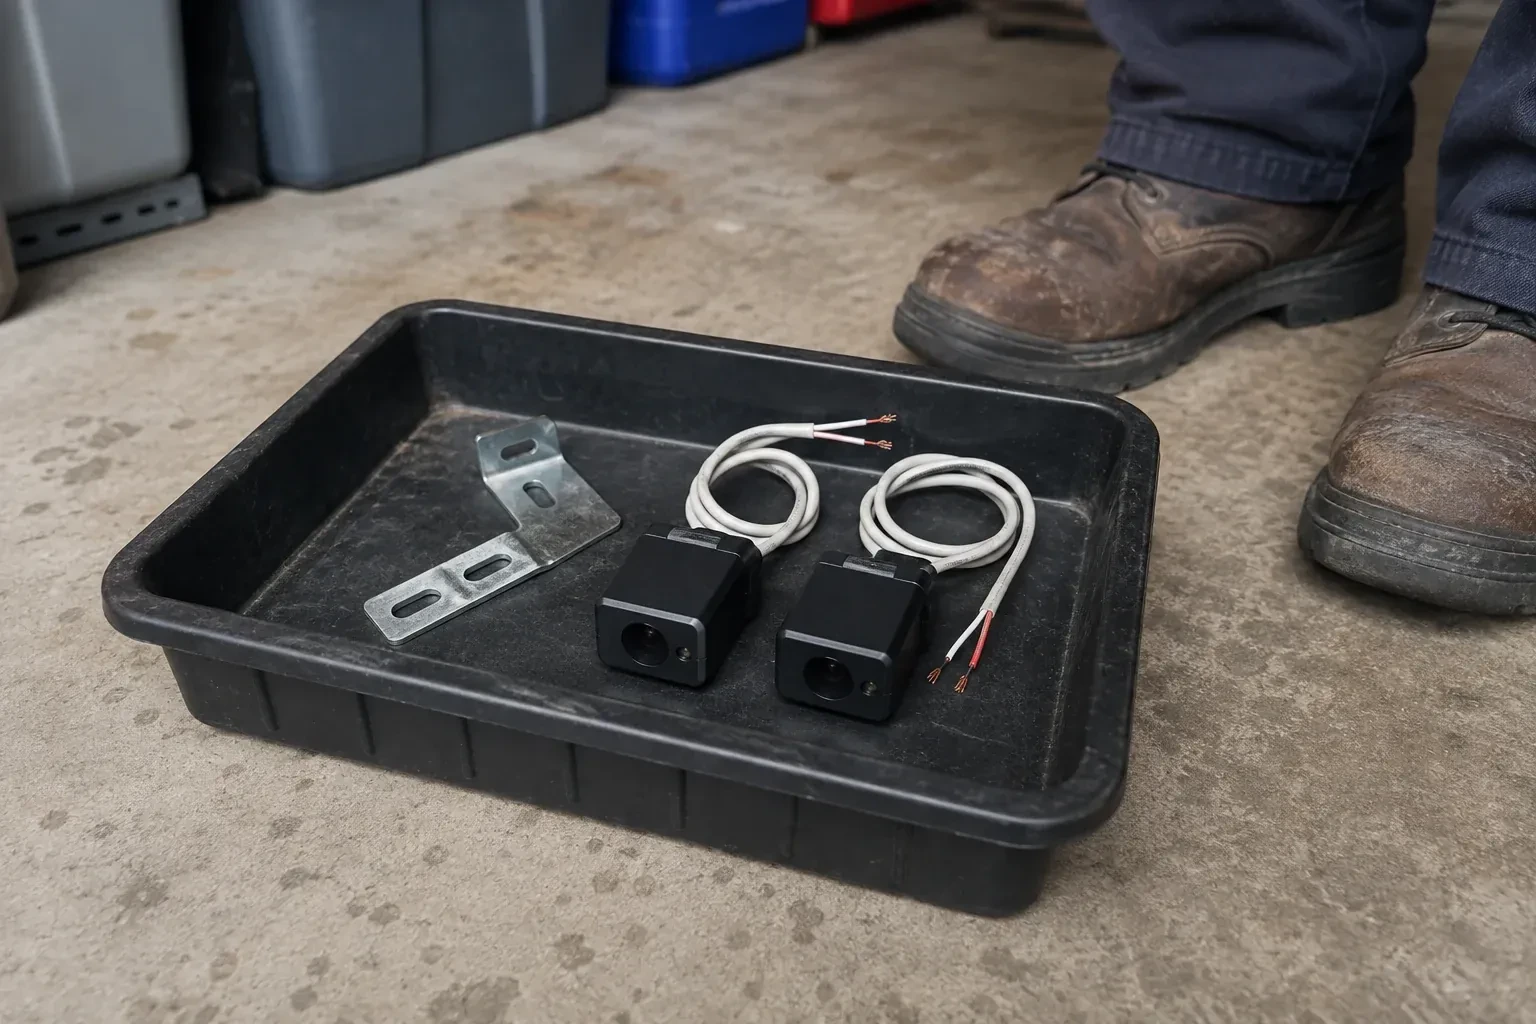
When a sensor has failed, the replacement is chosen for the opener rather than from a shelf of lookalikes. The technician confirms the make and generation from the head unit label, because sensors from one era are not always recognised by a board from another. The new sending and receiving sensors are mounted on the existing or new brackets at matched heights, wired with the connectors supplied, and brought up until both indicators glow steadily. Universal pairs exist for some operators and are used where they are documented to suit that model; where the opener is old enough that no compatible pair is made, the conversation moves to a modern operator.
Two lights to glance at
You leave knowing what normal looks like at the floor. Most sensor pairs carry a small indicator on each side, often in different colours for sender and receiver, though some older pairs light only the receiver; the model's own chart tells you what steady and flickering mean. A dark or flickering light on the receiving side means the beam has been lost, usually because a bracket was bumped or something is in the path, and two dark lights mean the pair has lost power along the wire. A glance at those lights before calling anyone tells you most of what the technician would look at first, and often the fix is moving whatever is leaning on the bracket.
Photo-Eye Sensor Alignment or Replacement
In the van
Two-conductor low-voltage wire
Receiving-eye sun shade
Multimeter
2x4 test block
Wire connectors
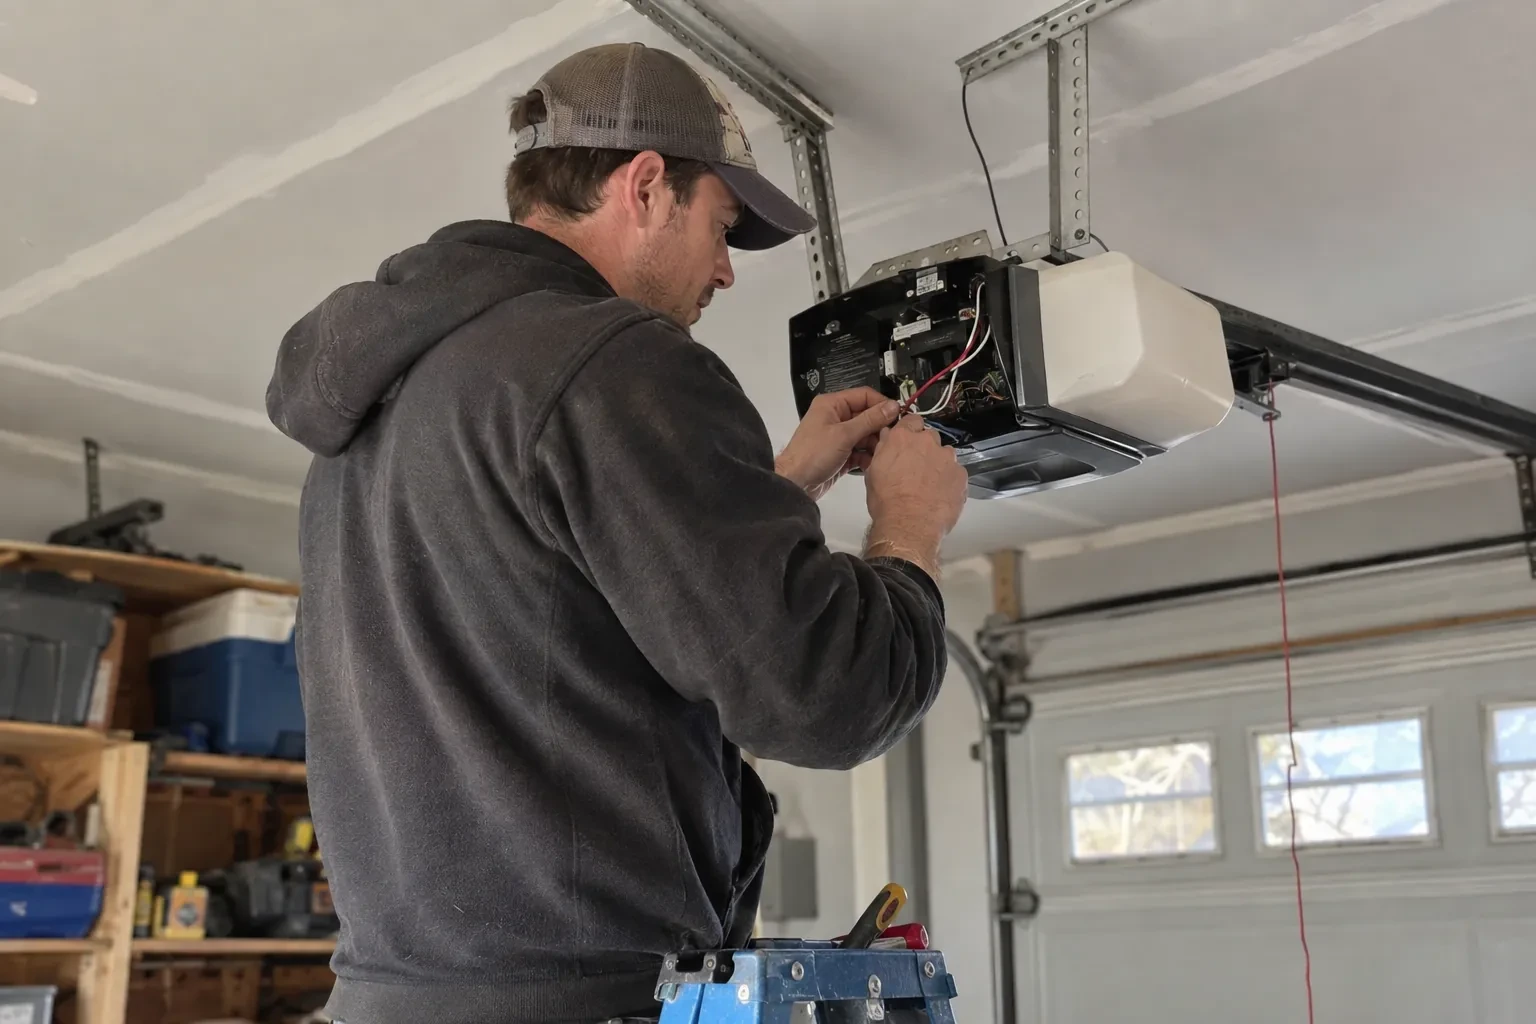
Photo-Eye Sensor Alignment or Replacement
What affects the quote
Corrosion reaching the head unit
Where salt and water have travelled up the wire to the terminals, or the sensor terminals on the board are damaged, the repair extends beyond the pair and that is set out separately.
Sun and reflection remedies
Swapping the sensors side to side is a small addition when the wiring reaches. Fitting a shade, or extending the wire so the receiver can move, is a little more and is listed on its own.
Alignment or replacement
Cleaning, re-aiming and refastening the existing pair is the smaller job. Fitting a new matched sending and receiving pair is the larger one, and the diagnosis at the door decides which applies before the quote is settled.
What to have ready
- What do the two small sensor lights show: both steady, one dark or flickering, or both dark?
- Does it happen at all hours, or mainly on bright mornings or late afternoons?
- Which direction does the garage door face?
Photo-Eye Sensor Alignment or Replacement: questions
QuestionsHow should I clean the lenses?
Gently, with a soft dry or lightly damp cloth, the way you would clean eyeglasses. Never scrape a lens or use a solvent, since a scratched or clouded lens scatters the beam. Wipe both sensors, then check that the receiving light comes on steadily. If a lens frosts on cold mornings, give it a few minutes to clear or dry it with a cloth. A quarterly wipe keeps dust, cobwebs and salt film from building up.
Can cold weather affect the sensors?
It can, in a few ways. Frost or condensation on a lens in an unheated garage dims the beam until it clears. The low winter sun reaches further across the floor and into a receiving eye. Old wire insulation cracks in the cold and shorts. Salt slush builds against brackets and corrodes them and the terminals over the years. Each of those has a straightforward remedy: cleaning, a shade or side swap, a fresh wire run, or brackets set above the slush line.
Will the sensors need replacing or just aligning?
Most visits end in alignment, cleaning and bracket work, because the sensors themselves are hardy. Replacement comes into it when a lens has clouded or crazed, when the housing is split or holds water, an indicator stays dark with the wiring proven good, or the pair is from a different generation than the opener and is never recognised. The technician tests before choosing, so the parts list matches what the door needs.