Openers · Haysville
Photo-Eye Sensor Alignment or Replacement in Haysville
Since shelving went up along the garage wall, the door will not close and both sensor lights are dead.
In plain words
If your opener has no sensors at the floor, that alone does not date it, since a pair can be missing, removed or never reconnected; the technician identifies the model before deciding whether a pair can be restored or the operator itself needs replacing. The visit is still worth making: the technician tests contact reversal and sets out what a modern operator brings, including a matched sensor pair, force reversal and a monitored circuit that holds the door open until the beam clears. Where sensors are present but tucked up beside the motor, they are returned to the doorway where they belong.
How the visit goesOn bright mornings the door will not close, then by lunchtime it behaves itself. The garage faces the low sun, and the light reaches straight across the floor to one of the little black sensors.
Photo-Eye Sensor Alignment or Replacement
How the visit goes
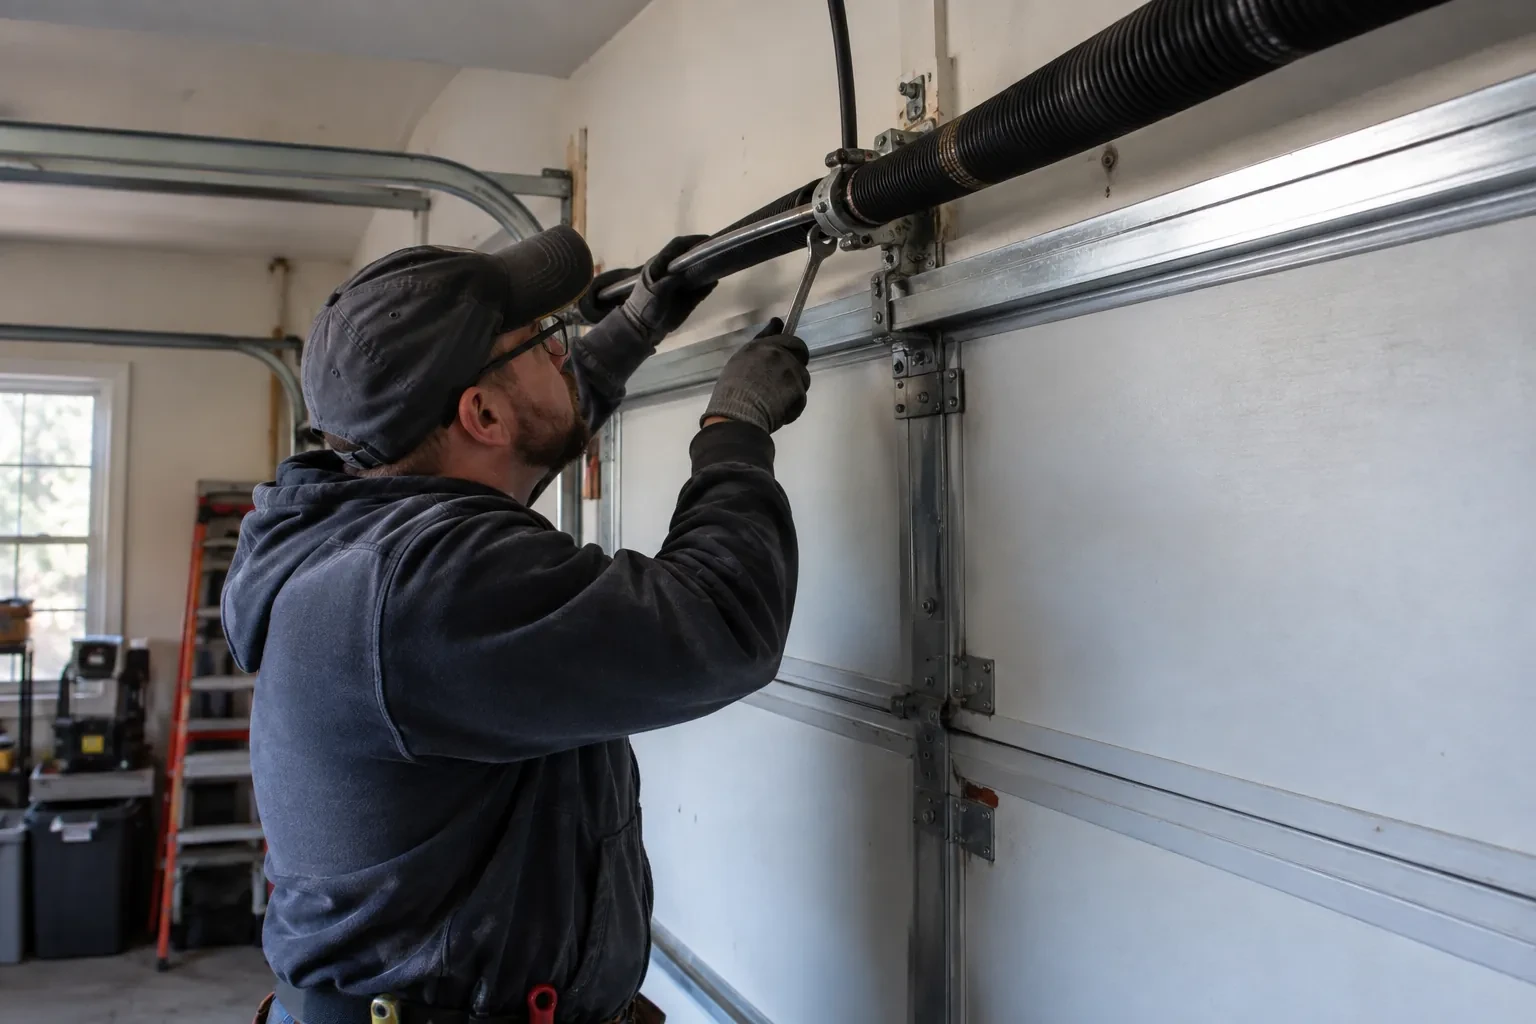
Counting the opener's flashes
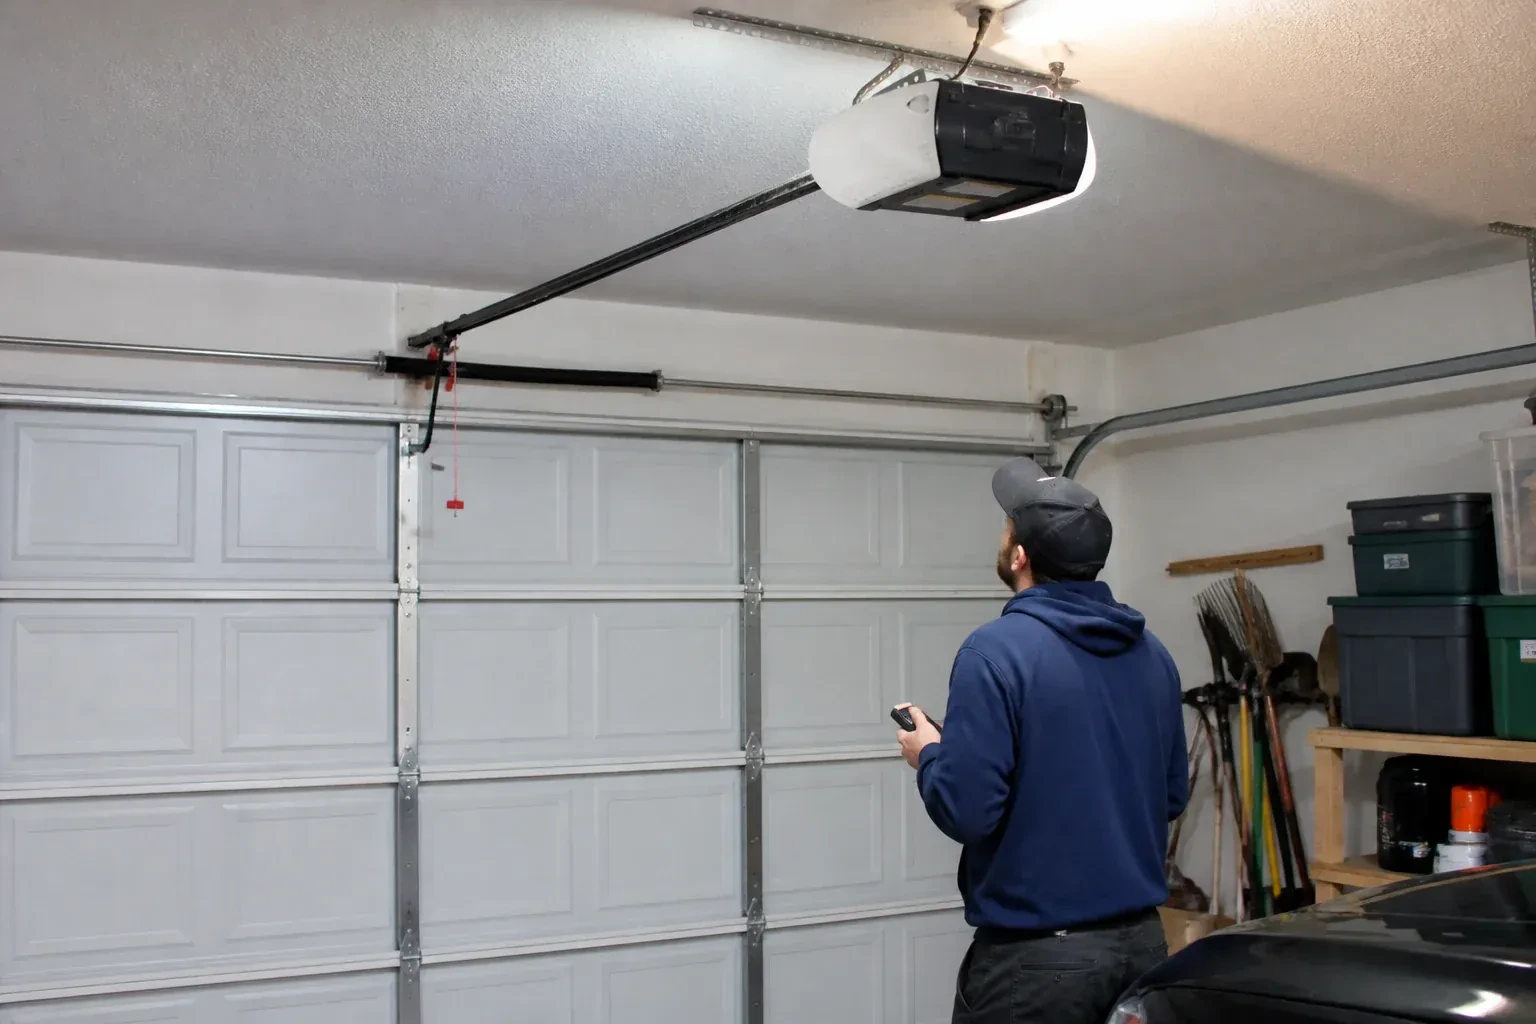
The head unit has its own way of reporting a sensor problem. Many openers flash the light bulb a fixed number of times when close is pressed and the beam is not satisfied, and newer units blink a code on their up and down arrows that separates a blocked or misaligned beam from a cut wire, a disconnected pair or reversed wiring. The technician reads the model off the label, counts the pattern and matches it to the maker's chart. This is what keeps the visit efficient: a code that says the circuit is open sends the work to the wiring, while a code that says obstructed or misaligned sends it to the brackets.
Repairing the wire run
Damaged wire is dealt with in whole sections rather than patched at a single point. A pierced or chewed length is cut back to sound insulation and either spliced with proper connectors or, more often, replaced from the sensor to the nearest good junction. Where the run has failed in more than one place, a fresh two-conductor wire is stapled from the motor housing across the ceiling and down both sides of the opening, kept clear of the track, hinges and the door's travel. At the head unit the pair is landed on the correct low-voltage terminals with polarity confirmed, and the sensor lights are checked before anything is tidied.
If it ever reverses again
Should the door start bouncing back up in the future, you know the order to check. Look along the floor for anything in the beam. Look at the two sensor lights for a dark or flickering one. Look at whether the door backs up as soon as it starts or only after touching something, since the second points to the door's settings rather than the beam. Note whether the opener light is flashing and how many times. With those four facts the cause is usually obvious, and if a visit is needed, the technician arrives already knowing where to begin.
Photo-Eye Sensor Alignment or Replacement
In the van
Two-conductor low-voltage wire
Receiving-eye sun shade
Multimeter
2x4 test block
Wire connectors
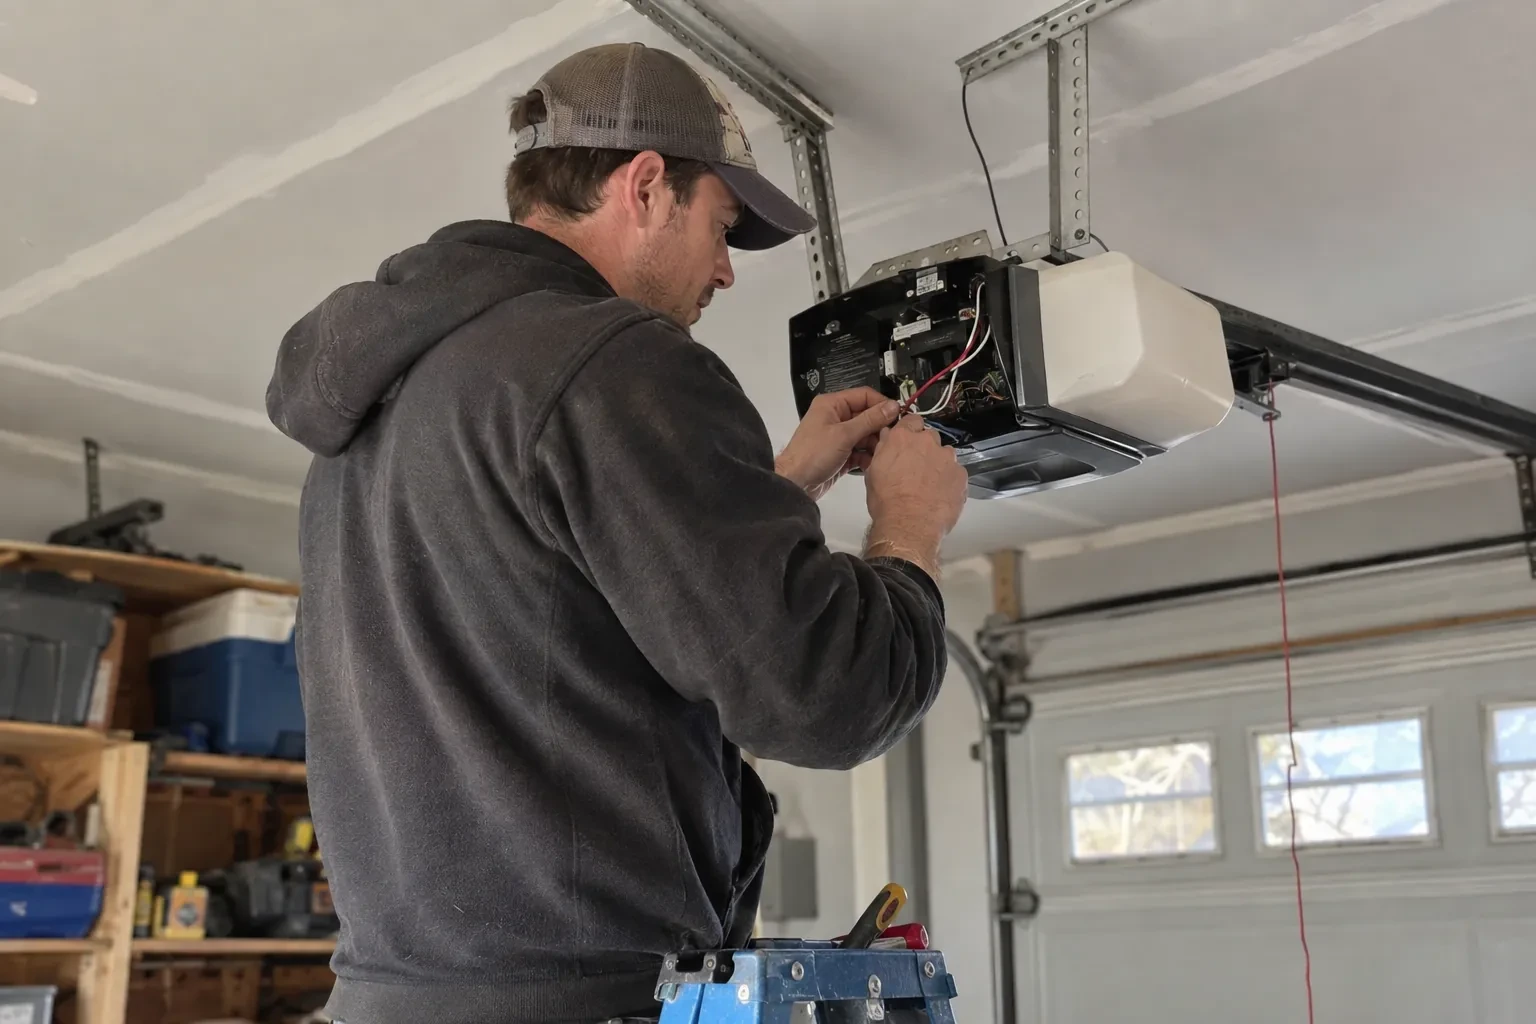
Photo-Eye Sensor Alignment or Replacement
What affects the quote
Door-side findings
A balance problem, a stiff roller or a bottom seal that needs replacing sometimes shows up during testing. Those belong to their own service and are noted and quoted separately rather than hidden in the sensor work.
Force and travel adjustment alongside
If the reversing turns out to involve a travel limit set long or a force setting made in summer, adjusting and re-testing those settings is included as a small extra step.
Protecting exposed wire
On a wall where the wire runs in the open, a slim protective channel or a re-route higher along the wall keeps bins, bikes and mice away from it, and is quoted as its own line.
What to have ready
- Does the opener light flash when you press close, and how many times?
- Can you see the thin sensor wire, and does any of it look pinched, cut or chewed?
- Can you send photographs of both sensors, the head unit label and the wall control?
Photo-Eye Sensor Alignment or Replacement: questions
QuestionsHow should I clean the lenses?
Gently, with a soft dry or lightly damp cloth, the way you would clean eyeglasses. Never scrape a lens or use a solvent, since a scratched or clouded lens scatters the beam. Wipe both sensors, then check that the receiving light comes on steadily. If a lens frosts on cold mornings, give it a few minutes to clear or dry it with a cloth. A quarterly wipe keeps dust, cobwebs and salt film from building up.
Can cold weather affect the sensors?
It can, in a few ways. Frost or condensation on a lens in an unheated garage dims the beam until it clears. The low winter sun reaches further across the floor and into a receiving eye. Old wire insulation cracks in the cold and shorts. Salt slush builds against brackets and corrodes them and the terminals over the years. Each of those has a straightforward remedy: cleaning, a shade or side swap, a fresh wire run, or brackets set above the slush line.
Will the sensors need replacing or just aligning?
Most visits end in alignment, cleaning and bracket work, because the sensors themselves are hardy. Replacement comes into it when a lens has clouded or crazed, when the housing is split or holds water, an indicator stays dark with the wiring proven good, or the pair is from a different generation than the opener and is never recognised. The technician tests before choosing, so the parts list matches what the door needs.