Repairs · Wilmot
Garage Door Bottom Seal Replacement
The strip under the door has gone as hard as a hose left out for ten summers.
In plain words
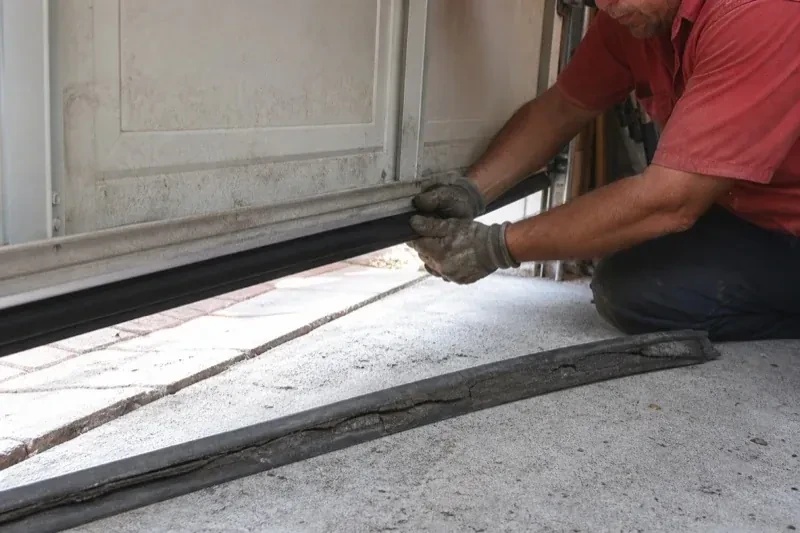
The bottom seal, called an astragal in the trade, is the flexible strip along the underside of the lowest door section that squashes against the floor when the door closes. On most steel doors it is a U-shaped vinyl or rubber profile whose two edges slide into the channels of a retainer fixed to the bottom rail; on wood doors it is often a flat angled strip nailed in place. Replacing it means matching that retainer and profile, fitting a fresh seal the full width of the door, and confirming it meets the floor in one continuous line so light, drafts, water and pests lose their route in.
How the visit goesOne end of the bottom seal has slipped out of its channel and hangs down like a loose shoelace. Each time the door closes it folds under, each time it opens it flaps, and the gap beside it keeps growing.
Garage Door Bottom Seal Replacement
How the visit goes
The floor and the threshold
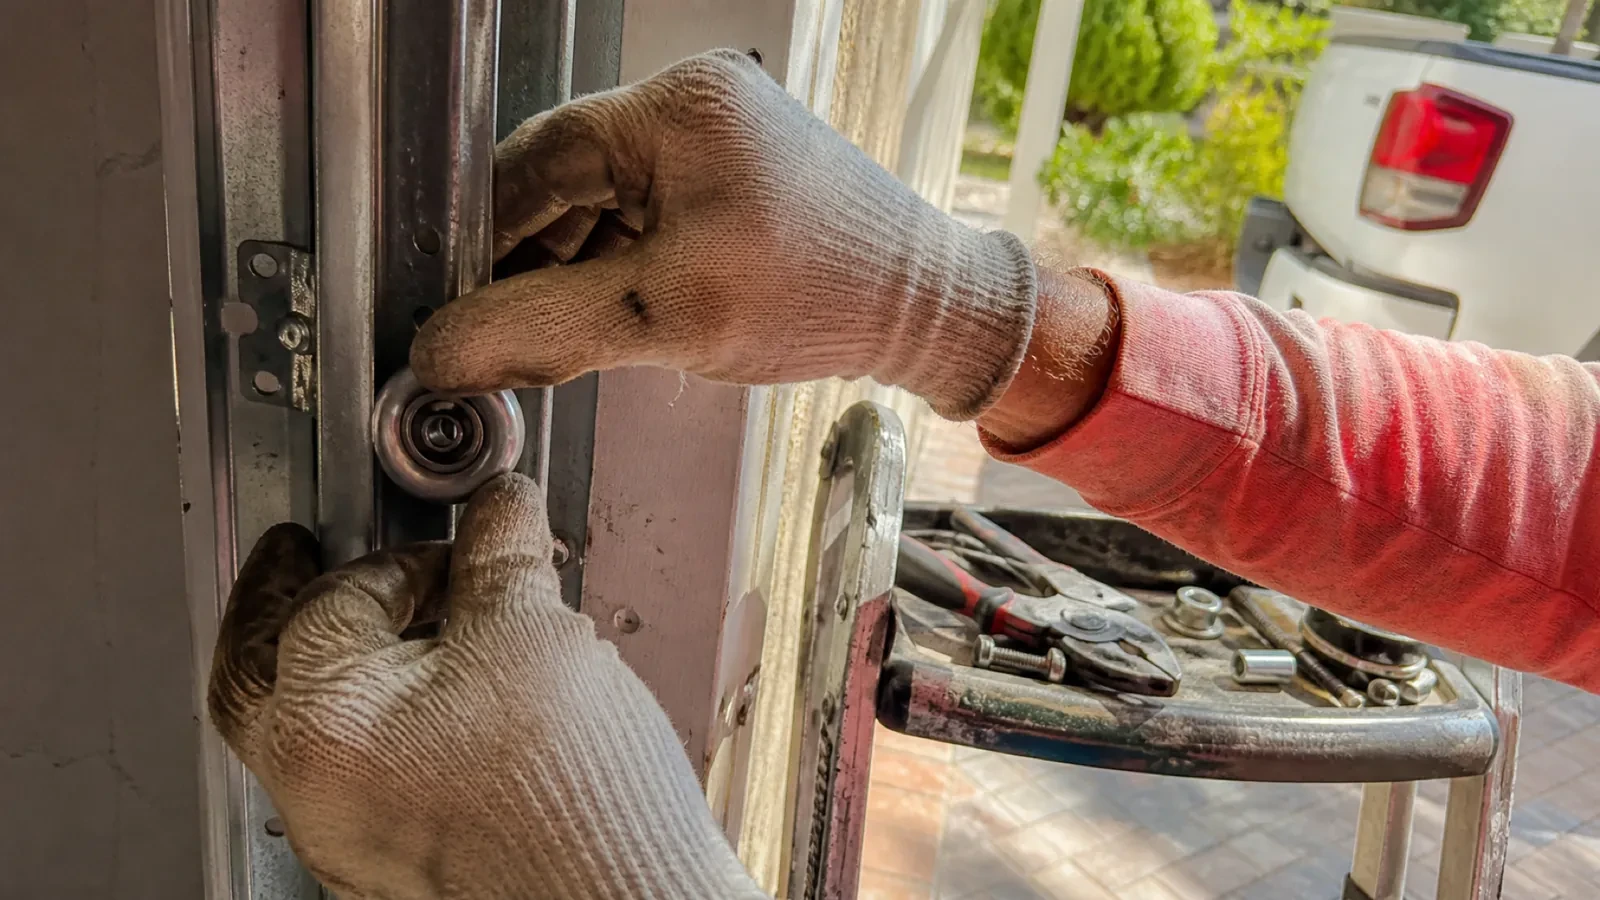
The concrete under the door is half of the seal. The technician looks at the slope of the driveway toward the opening, the condition of the slab edge where the seal lands, cracks, spalled patches and any step between the slab and the apron. A garage floor that has heaved or settled over the decades is common, and the shape it has taken decides whether a standard seal, a taller bulb profile or a threshold seal glued to the floor gives the most even contact. Where water arrives from outside, the path it takes is noted so the seal and any threshold are placed to meet it.
Closing the door onto the new seal
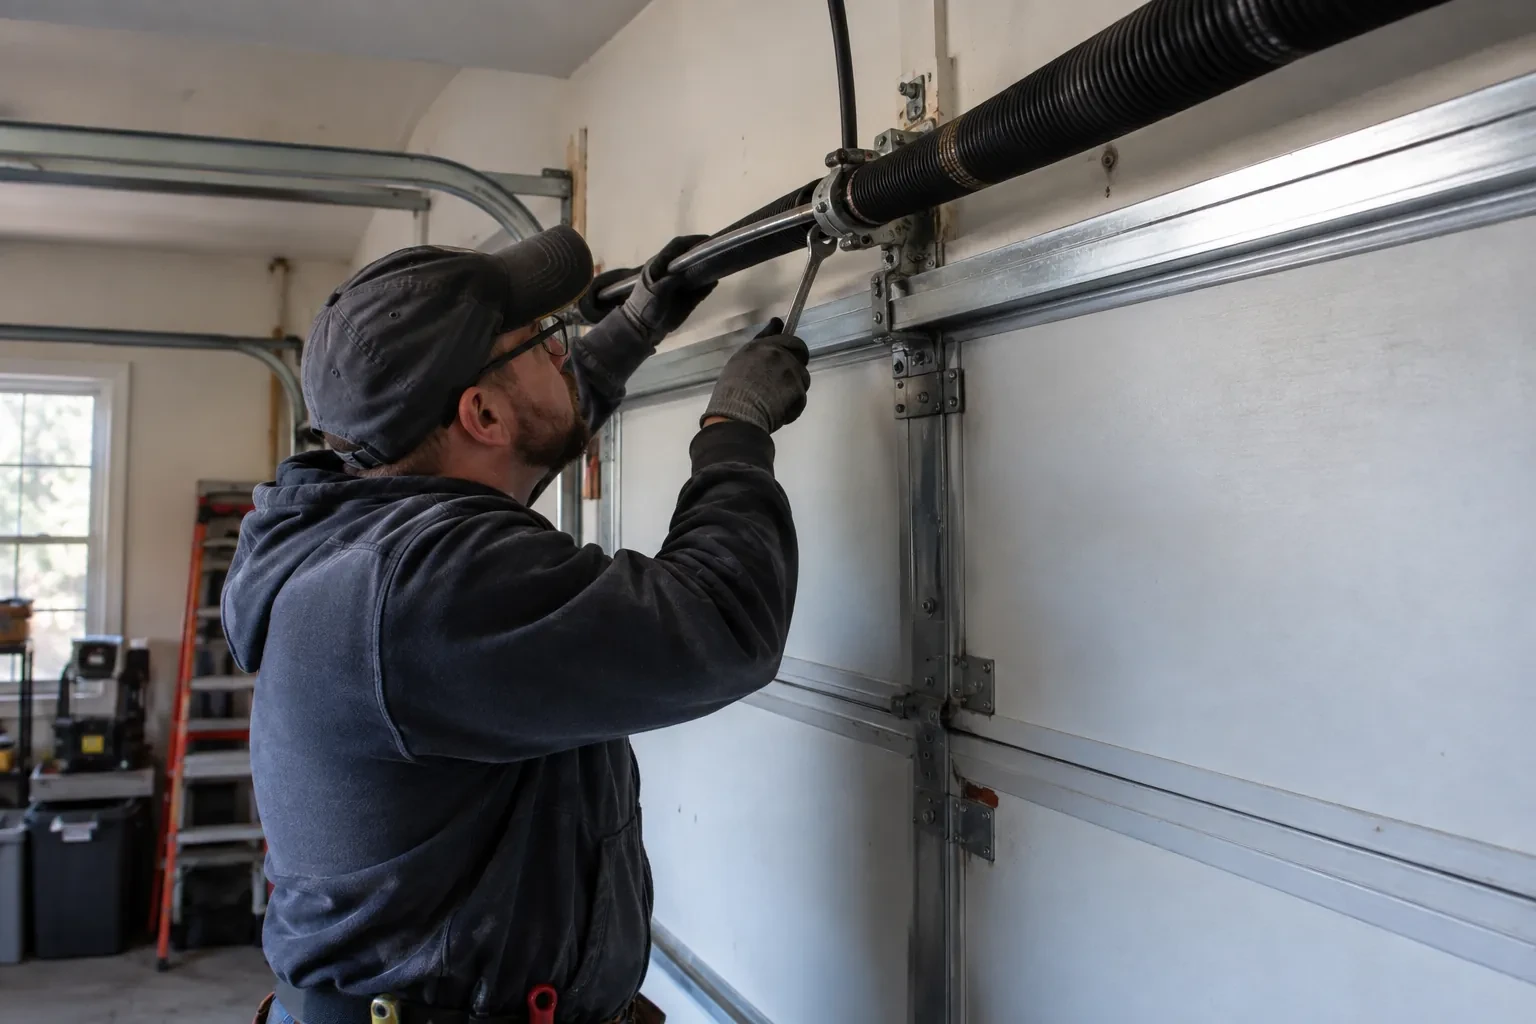
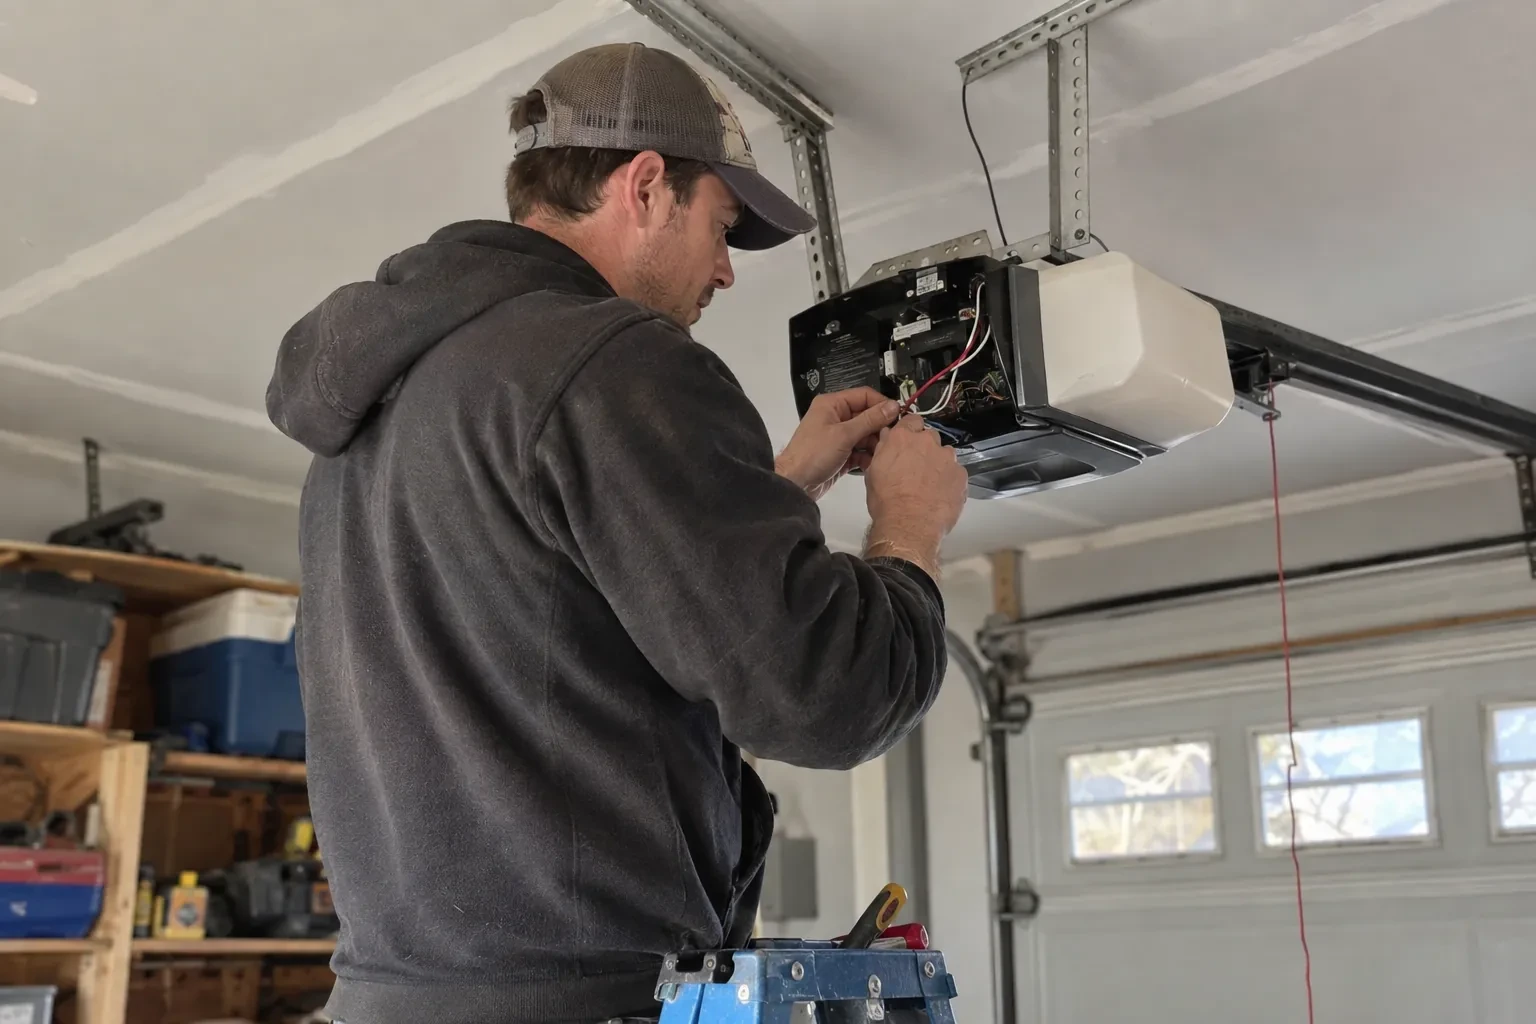
The clamps come off, the opener is reconnected, and the door is run closed under power while the technician watches the bottom edge meet the floor. The down limit is adjusted so the seal compresses gently along its full length without the section bowing, and the force setting is checked so the door settles onto the new, taller strip without reversing. From inside with the lights off, the floor line is checked again for daylight. The reversing test with a 38 mm (1.5 in) solid object, or a 2x4 laid flat under the door, and the photo-eye test finish the visit, and you are shown the door closing before the ladder is packed.
What to look for each season
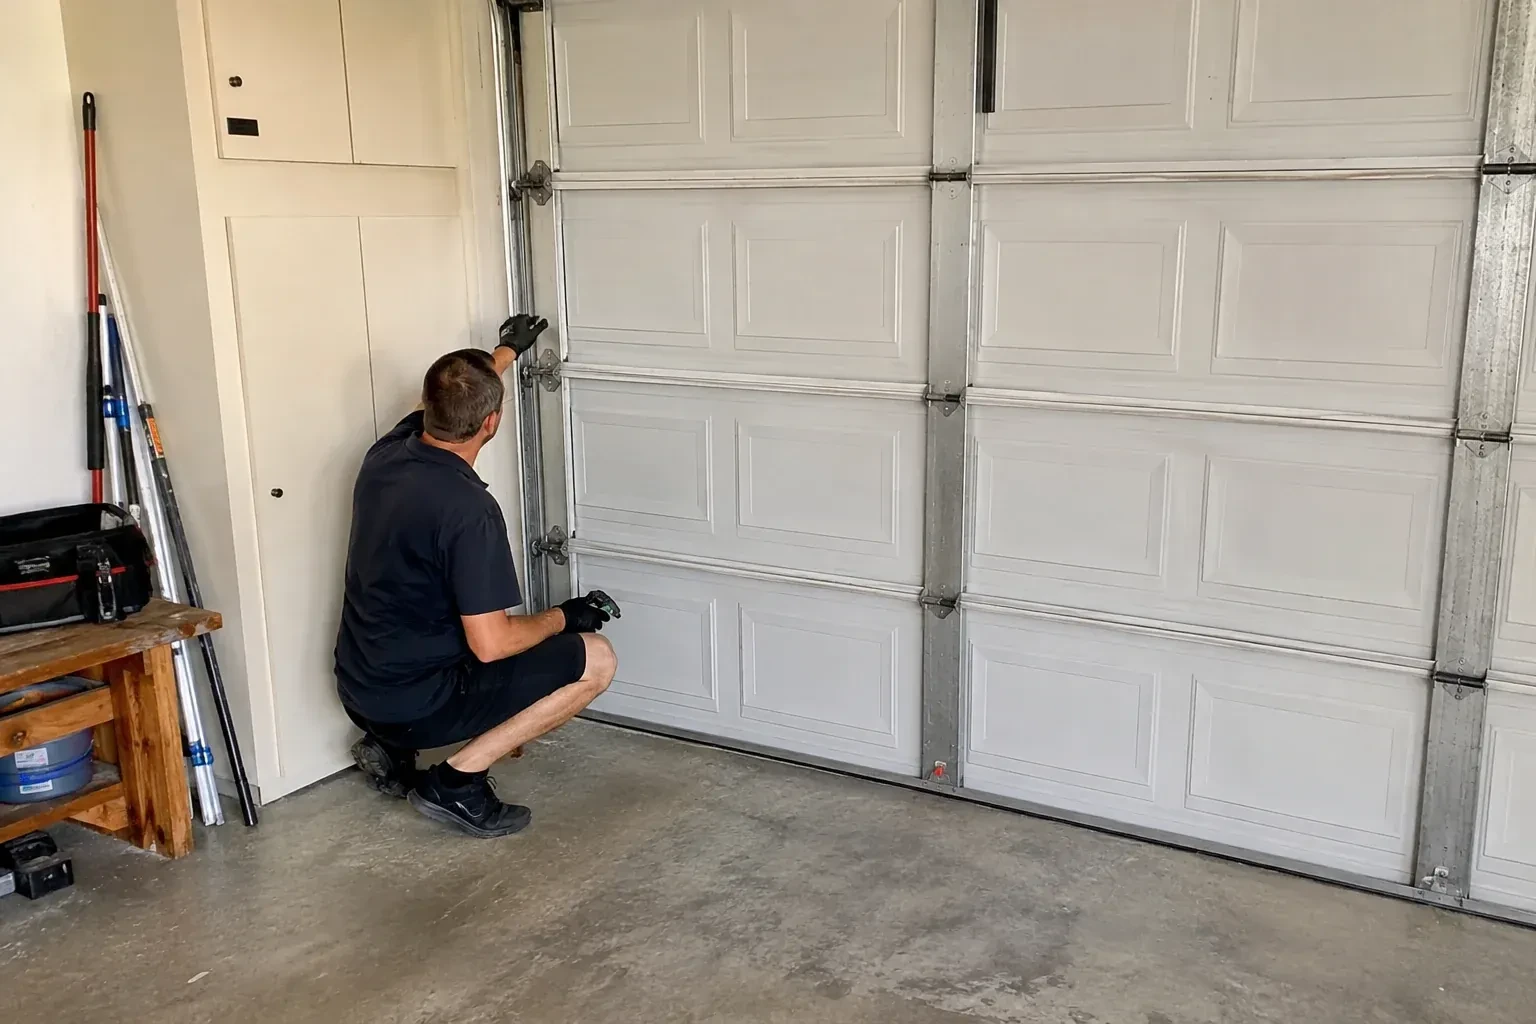
Once a season, close the door, turn off the lights and look along the floor. You are checking for a line of daylight, a corner where the seal hovers, an end that has slipped from its channel, and cracks along the fold of the bulb. Run a hand along the strip for stiff or brittle patches. Then watch the door close under power once and notice how it lands. A change in any of these is worth a call while the fix is a seal or an adjustment rather than a torn strip dragged through a winter. The check takes less time than reading this paragraph.
Garage Door Bottom Seal Replacement
In the van
Threshold seal and adhesive
Bulb or U-style bottom seal
Silicone spray lubricant
Straightedge and tape measure
Seal end caps
Garage Door Bottom Seal Replacement
What affects the quote
Perimeter seals done together
Jamb and header weatherstripping renewed in the same visit is quoted per length of stop moulding, and doing it alongside the bottom seal saves a second call-out.
Access and clearance
Storage, a vehicle that must stay inside, or shelving against the bottom of the door slows the work. A clear metre inside the door makes the visit shorter.
Number of doors
Two single doors are two seals, two inspections and two opener resets. The travel is shared, so doing both in one visit costs less than two separate calls.
What to have ready
- Is there a car or storage inside that needs moving before the visit?
- Is the door steel, wood, or insulated with a plastic bottom cap?
- Can you send a photo of the end of the bottom section showing the retainer?
Garage Door Bottom Seal Replacement: questions
QuestionsCan the seal be replaced in the middle of winter?
Yes, and winter is when most people notice they need one. Vinyl is stiffer in the cold, so the technician keeps the new roll warm until it is fed and takes a little longer working it across the channels. A seal frozen to the floor is freed by hand first. The door is then closed onto the new strip and the opener reset exactly as in summer, and the garage is sealed for the rest of the season.
How can I tell that the bottom seal needs replacing?
Close the door, turn off the lights and look along the floor from inside. Daylight showing, a strip that feels hard or cracks when pressed, a bulb that has flattened and stays flat, an end hanging out of its channel, chew marks or missing pieces are all signs. So are leaves, snow or a puddle inside the door after weather. Any one of these means the seal has stopped doing its job.
How do I know which size and type my door takes?
Look at the end of the bottom section for the metal or plastic strip that holds the seal. Count the channels, note whether they are slotted or rounded, and measure the distance between them and the width of the door. A photo of the end of the retainer and one of the seal's cross-section is usually enough for the technician to identify the profile before the visit and bring the right roll.
Related services
- Garage Door Tune-UpEvery morning the door announces itself to the whole street: a long metallic squeal as it climbs, a rattle at the top, and a groan on the way back down.
- Off-Track Garage Door ResetThe door came down fine but with a scraping noise, and now the vertical track on one side is bowed away from the wall.
- Garage Door Panel ReplacementYou misjudged the last metre of the driveway and felt the bumper meet the door.