Openers · Phillipsburg
Belt-Drive Opener Repair in Phillipsburg
It is minus twenty in the detached garage and the door climbs in jerks, the belt stiff as a board.
In plain words
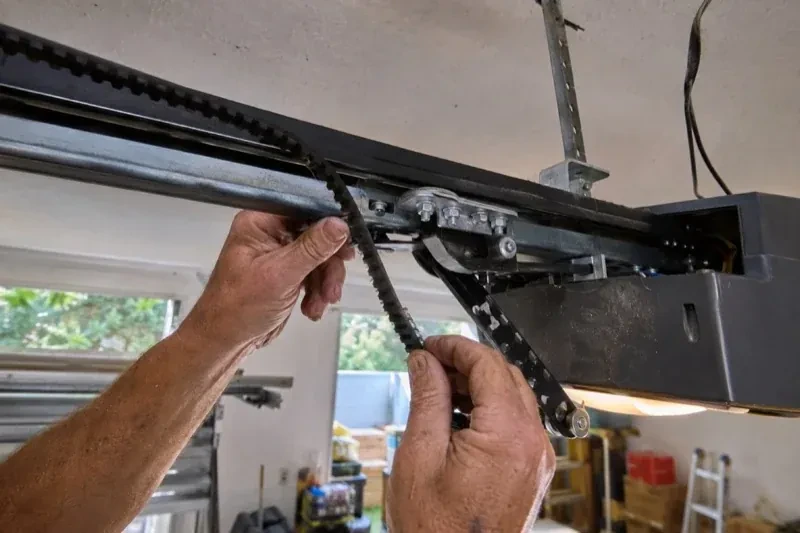
A stalled belt drive is often a trolley problem, not a belt problem. The trolley rides the rail in two halves: an outer part linked to the door arm and an inner part gripped by the belt. Pulling the red cord parts them so the door can be lifted by hand; running the operator, or a second pull, locks them again. When the release lever sticks, the housing cracks or the halves refuse to re-engage, the motor moves the belt and nothing else. Repair means freeing or replacing the trolley, checking the belt for damage from the drag, and confirming the inner half is in step with the motor.
How the visit goesSomeone tightened the belt last month to stop the sag. Now the opener sounds like a chain drive, the motor labours on the way up, and the whole rail vibrates under the ceiling.
Belt-Drive Opener Repair
How the visit goes
What the operator thinks it is doing
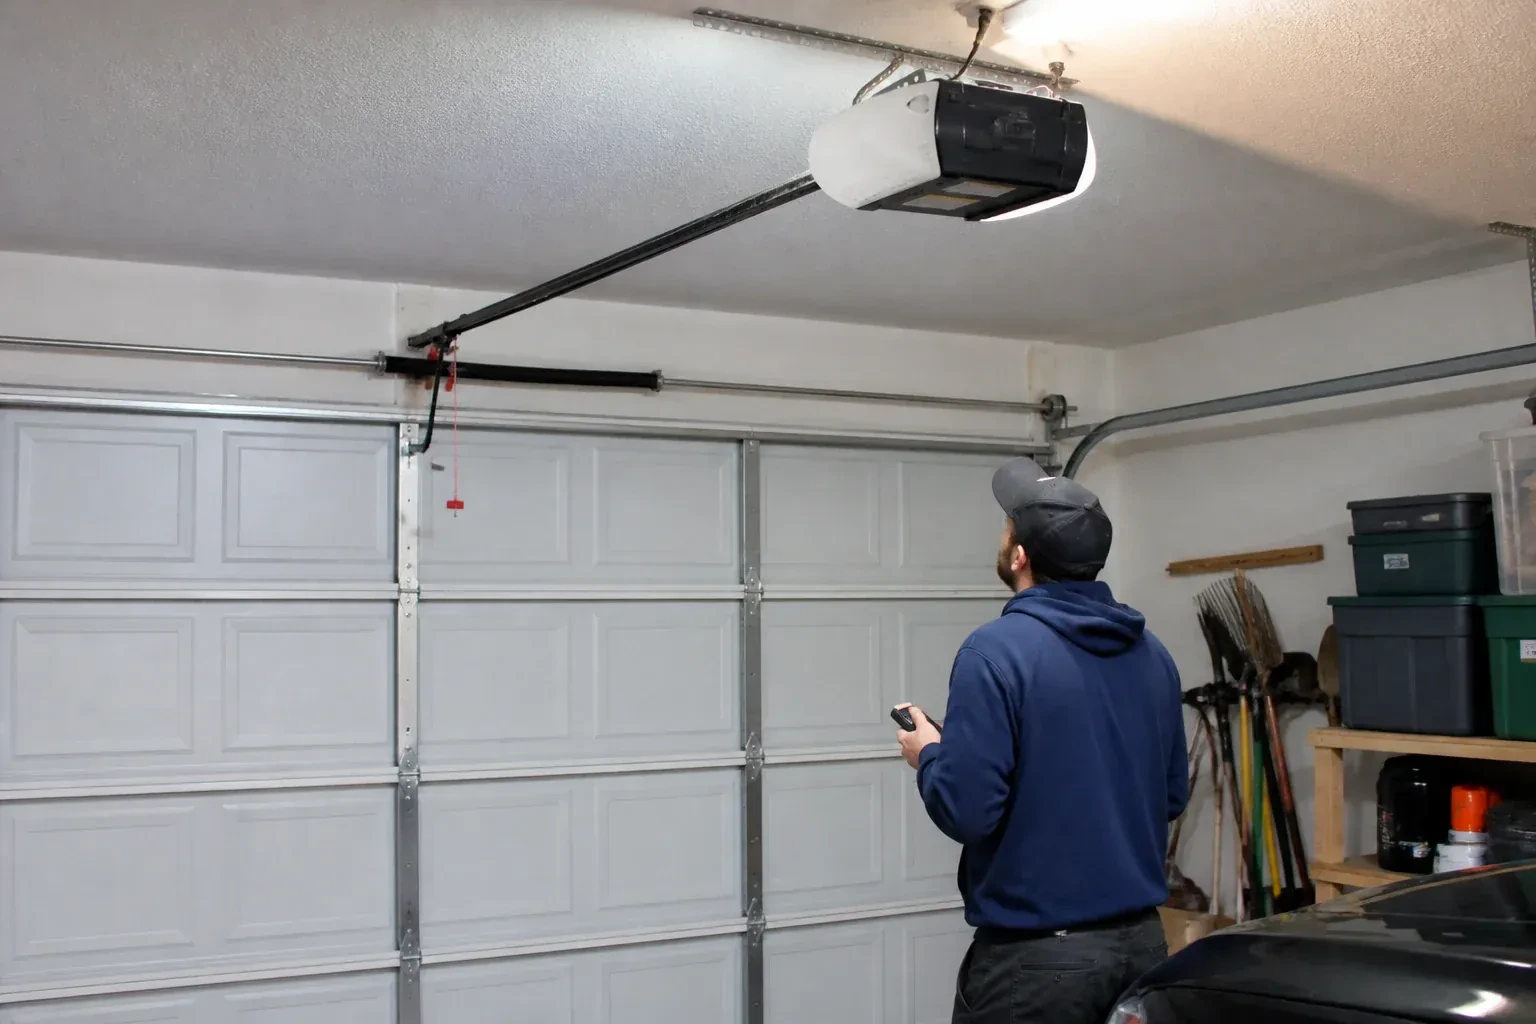
Before any part is changed, the technician runs the door from the wall control and watches what the operator thinks it is doing. Does it stop short of the floor and reverse, or drive the trolley into the stop bolt? Does the top section stop clear of the header bracket? Does the door come back up on meeting a 2x4 laid flat and when the beam near the floor is broken? The answers separate a drive fault from a settings fault, and settings will be relearned once the belt work is done anyway. The wall control height, the photo-eye height and where the red handle hangs are noted at the same time.
Gear and sprocket at the motor head
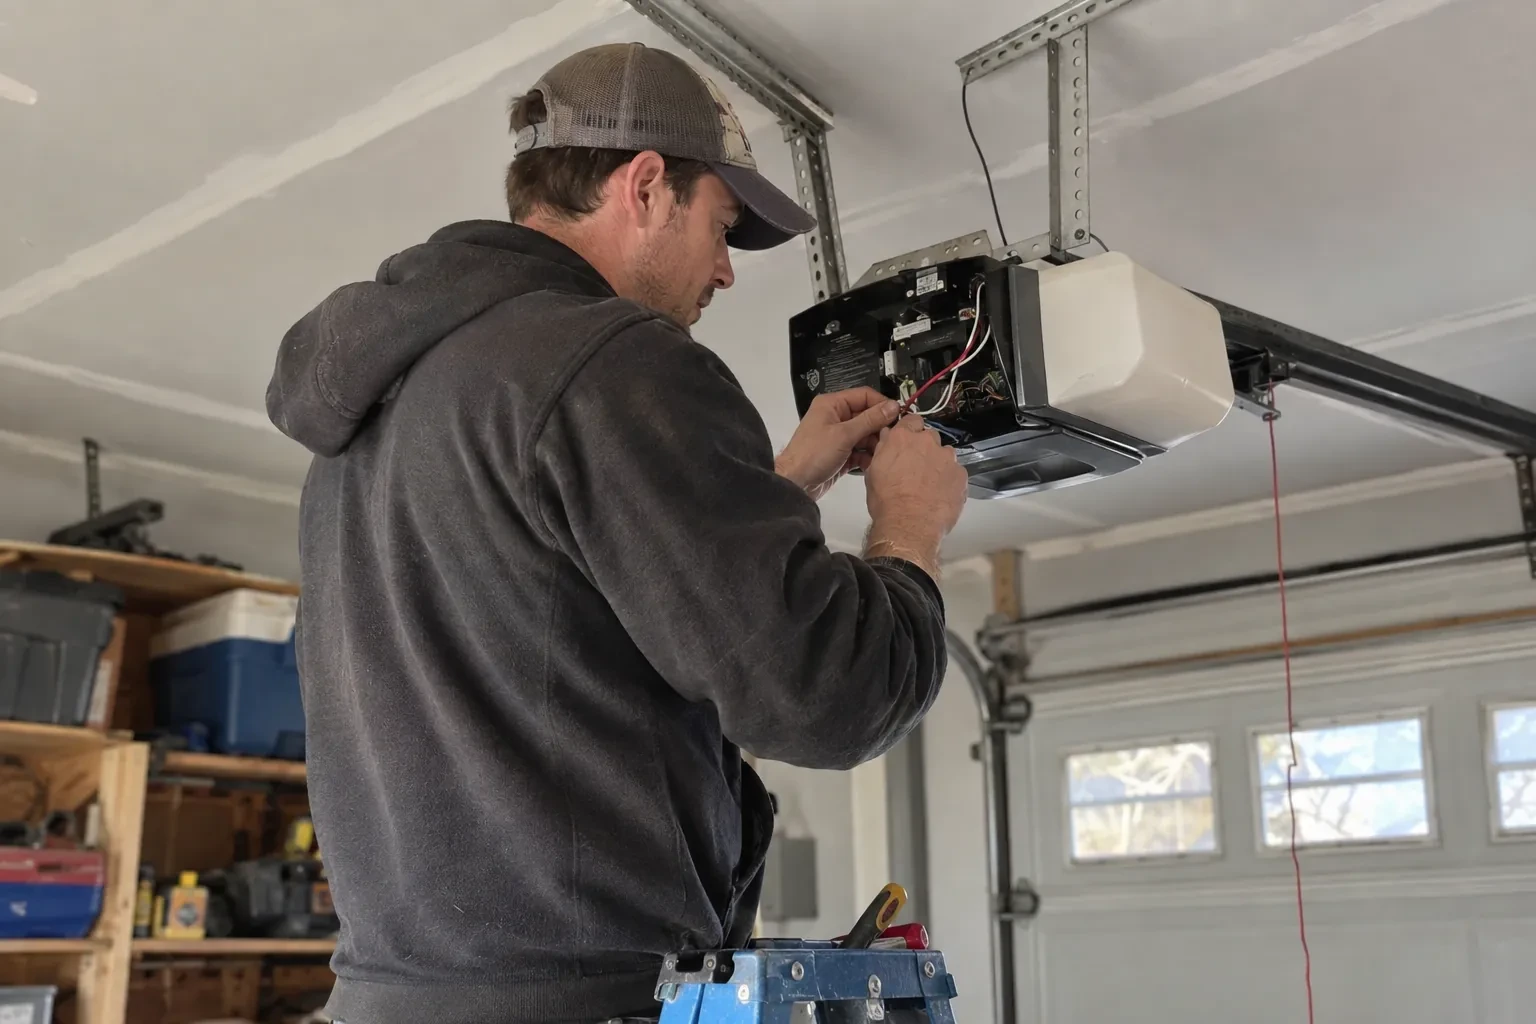
When the shavings on the housing say the drive gear has stripped, the head unit's cover comes off and the gear-and-sprocket kit is replaced as a set. The belt is lifted off the sprocket, the old sprocket shaft and worm gear are withdrawn from the housing, the new gear is greased with the light grease the maker names and fitted with its bushings, and the sprocket is set back on top. The technician checks the motor shaft's end play, since too much play is often why the gear stripped in the first place. The belt is refitted, tensioned and phased, and the operator is run to confirm the sprocket turns true and quiet.
The red cord, and what to do after you pull it
You now know where the release handle hangs and what happens when you use it. A pull parts the trolley so the door can be lifted by hand through a power cut; running the motor, or a second pull, reconnects it. What matters after this repair is to pull it only with the door closed. Releasing a door that is open, or one whose springs are tired, can let it fall because the spring no longer carries its weight; the release itself disconnects the trolley from the belt, so the falling door lands on its tracks and hinges, not the belt the technician just corrected. Practise it once with the door down so the first real use is calm.
Belt-Drive Opener Repair
In the van
Light grease for the drive gear
Photo-eye sensor pair
Drive gear and sprocket kit
Door arm and clevis pins
Rail hanger straps and fasteners
Belt-Drive Opener Repair
What affects the quote
Sensors and controls needing attention
Photo eyes out of alignment or too high, a wall control below the recommended height or a release handle out of reach are corrected during the visit and listed separately.
Door work found during the balance test
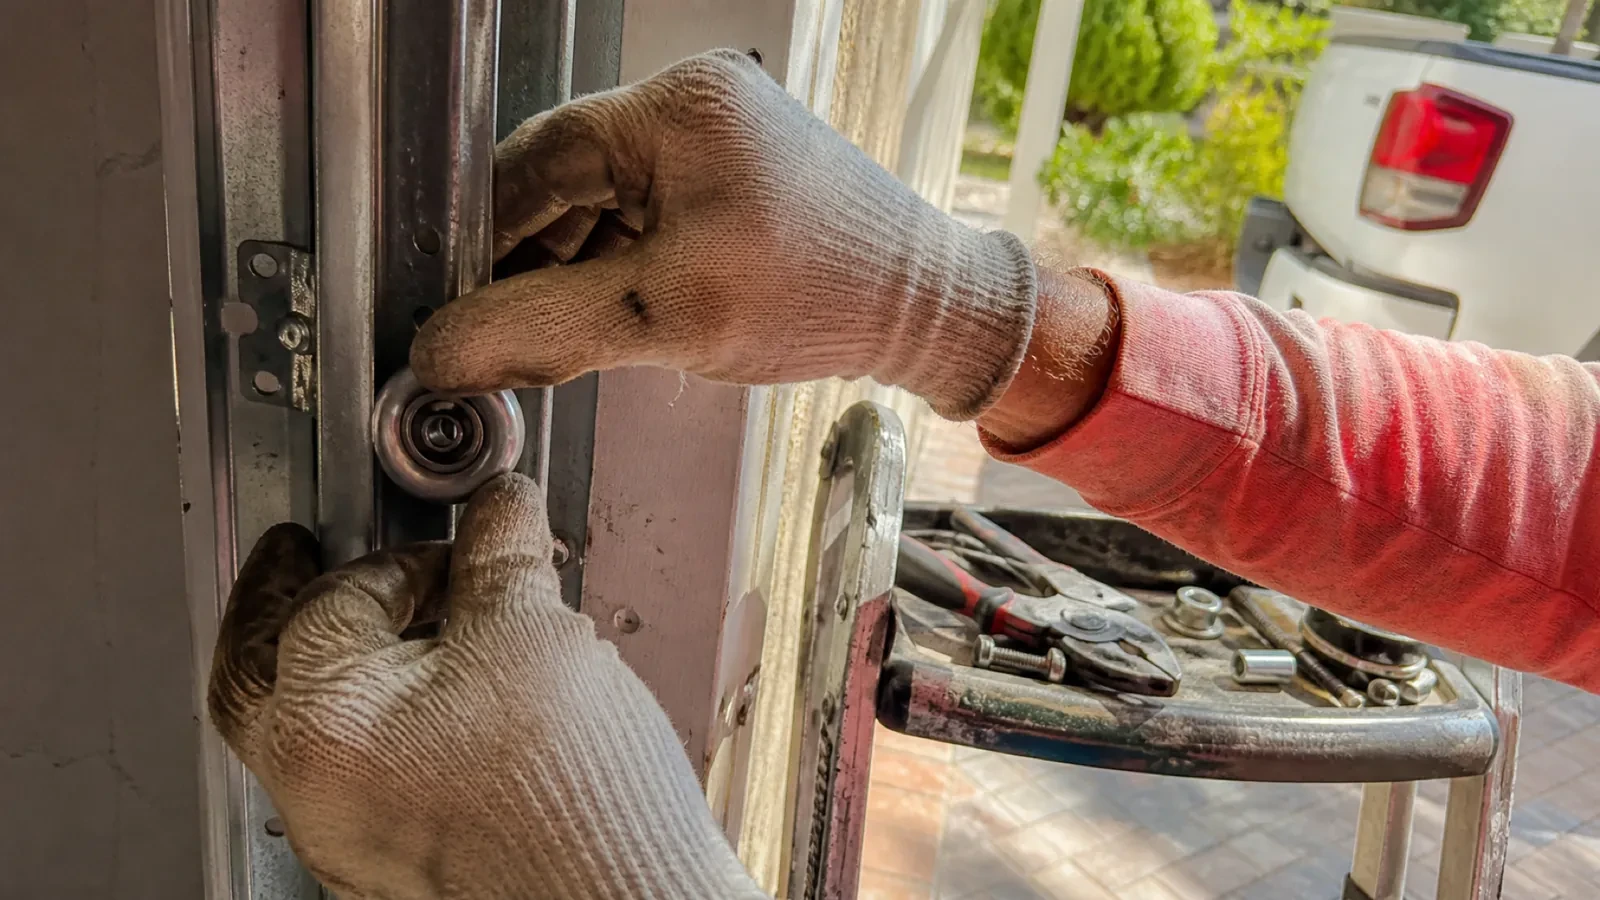
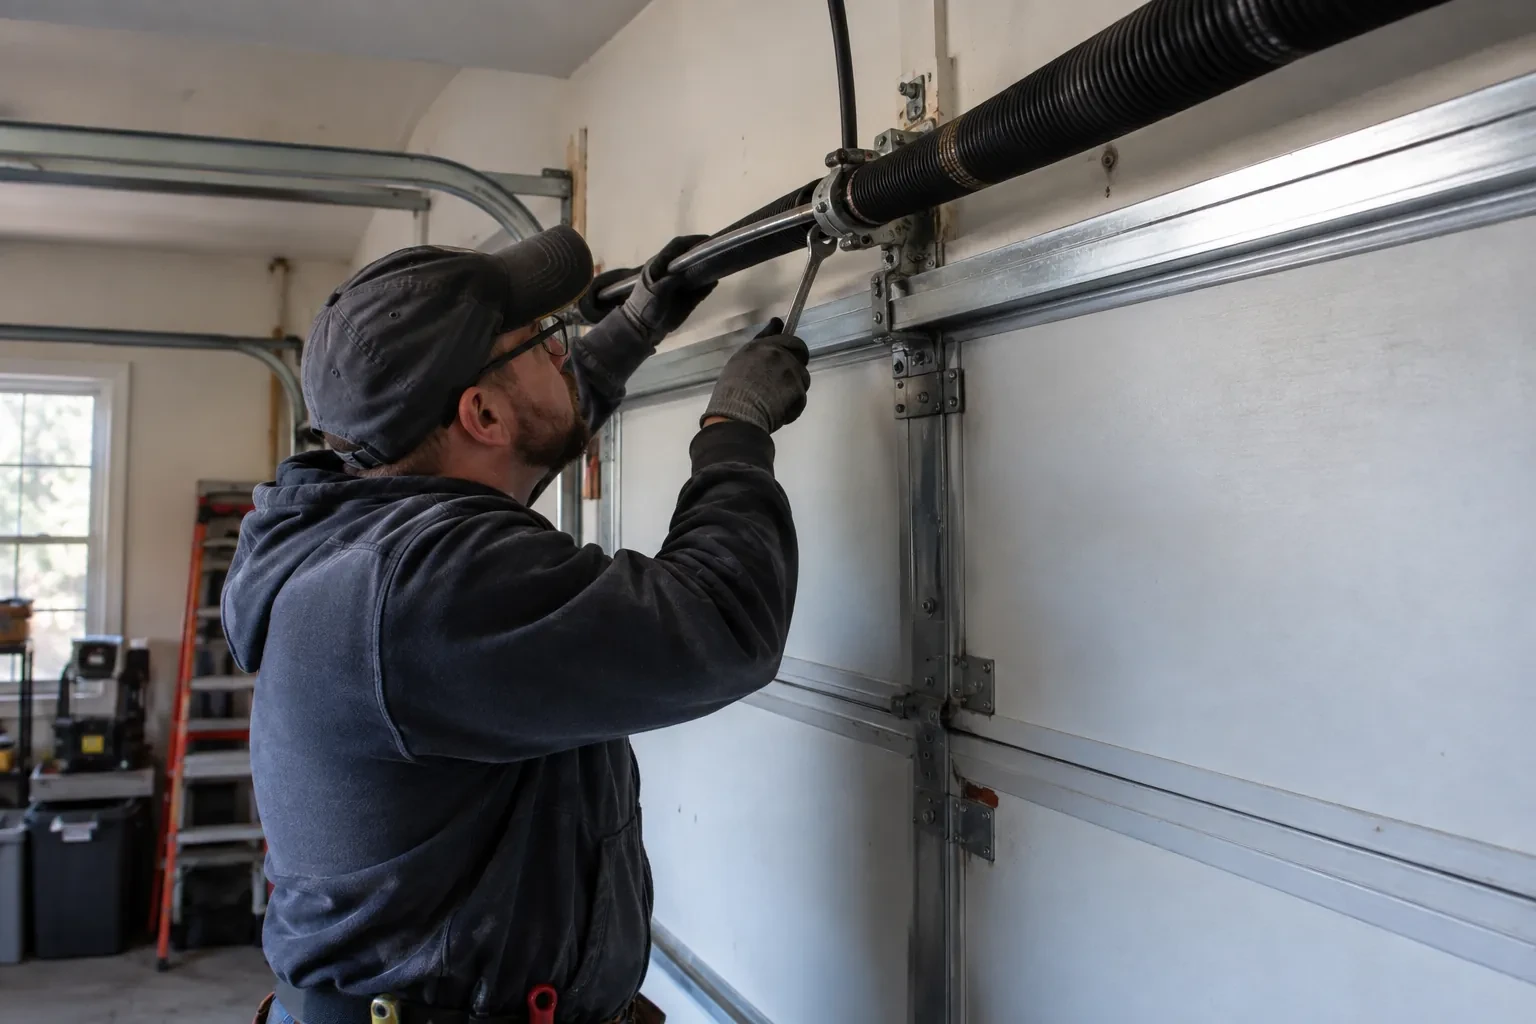
If the door is heavy in the hands when lifted with the operator released, the springs, cables or rollers behind that are priced as their own job, separate from the belt.
Adjustment or replacement
A tension adjustment with the safety tests is the smallest visit. A new belt, with a fresh clip, phasing and relearned limits, is a larger one, and the inspection decides which you need.
What to have ready
- Is the garage heated and attached to the house, or a cold detached one?
- Has anyone tightened or adjusted the belt recently?
- How wide is the door, and is it a single or a double?
Belt-Drive Opener Repair: questions
QuestionsWhat information helps when I book a belt-drive repair?
The make and model printed on the motor head, roughly how old the operator is, what the belt is doing and what it sounds like, when it started, whether the red cord has been pulled and whether anyone has adjusted anything. A photograph along the rail showing the belt, and one of the label, settle most questions before the visit.
How long does a belt-drive repair take?
A tension adjustment with the safety tests is a short visit. Replacing the belt, trolley or idler pulley, then phasing the motor, relearning limits and running the reversal tests, is usually an hour or two. A gear-and-sprocket kit at the motor head takes longer because the head unit is opened. If the balance test turns up spring work, that is agreed as a separate job with its own time.
Why is the door tested by hand before the belt is touched?
Because the belt guides the door; the springs carry it. A door that lifts with moderate effort and stays put a metre off the floor is balanced, and a belt on that door lasts. A door that drops or drifts is loading the belt, trolley and sprocket far beyond their design, so a new belt would wear the same way. Spring work comes first in that case.
Related services
- Chain-Drive Opener RepairHalfway up, the door lurches.
- Garage Door Opener ReplacementThe bedroom above the garage shakes every morning at six when the chain drive fires up.
- Photo-Eye Sensor Alignment or ReplacementSince shelving went up along the garage wall, the door will not close and both sensor lights are dead.